Call of Duty 5: Building a Simple Room
![]() This tutorial will explain step-by-step How to create your first room using the Base Tools from CODWAW Radiant.
This tutorial will explain step-by-step How to create your first room using the Base Tools from CODWAW Radiant.
Creating Base Brushes
![]() check the Gameplay standards for Walls sizing.
check the Gameplay standards for Walls sizing.
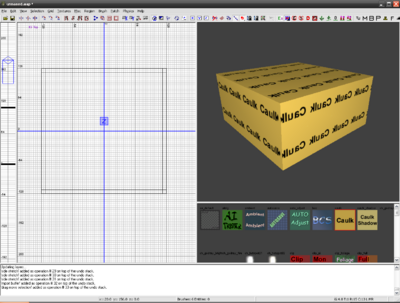
As a rule, always use either Caulk to build your base brushes (floors, walls, ceilings..). Case Tools can also be used, it gives a scale when building by having numbers on the texture.
When opening Radiant you will be in Z Axis by default (notice the Z on the 2D Window on left).
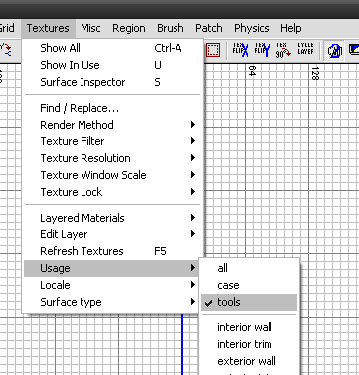
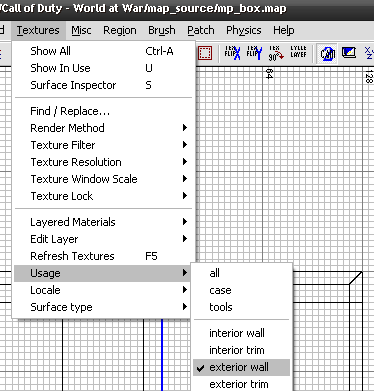
- Go select the Tools textures from Textures Menu:
Create the floor
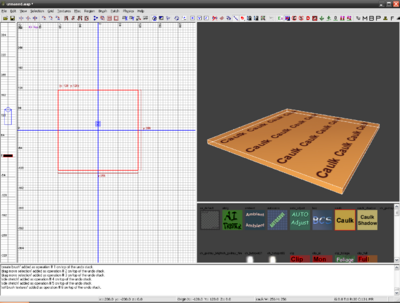
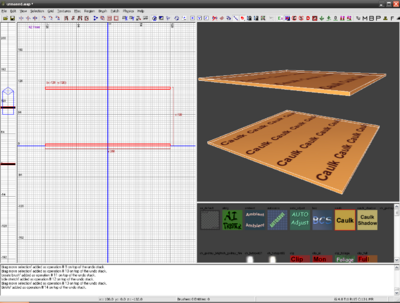
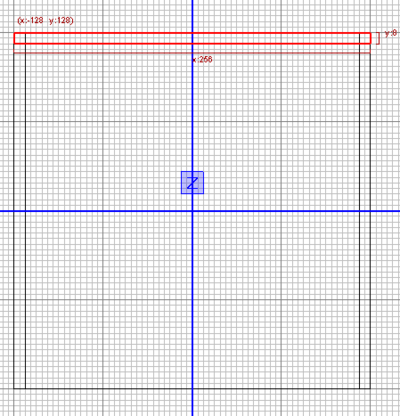
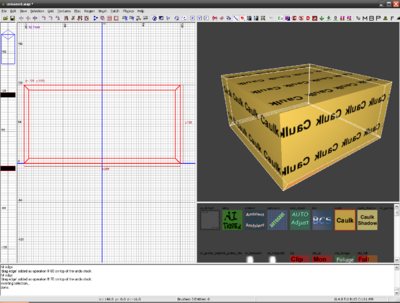
- Using the 2D window create a brush (LMB and drag towards bottom right of screen) that is 256*256
- Change the Axis by clicking on this icon:
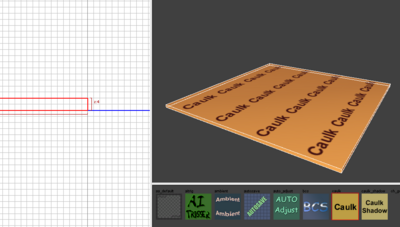
 or using CTRL+Tab, you can now see the floor thickness, by default at 8 units. Reduce this to 8 Units.
Create the ceiling
- Go back to Z axis view (CTRL+TAB 2 times)
- Select the floor you've just made and hit Spacebar to clone it (duplicate).
![]() When cloning using the Spacebar Radiant will always move the clone item 1 unit to the right and 1 unit to the bottom on Z axis!
When cloning using the Spacebar Radiant will always move the clone item 1 unit to the right and 1 unit to the bottom on Z axis!
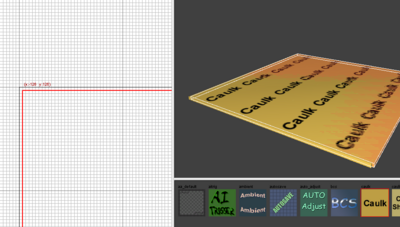
- Select the cloned brush and move it so that you have 112 Units between top of floor to start of ceiling:
Create the walls
- Place the 2D View on either X or Y axis
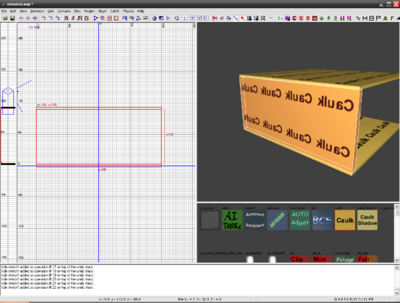
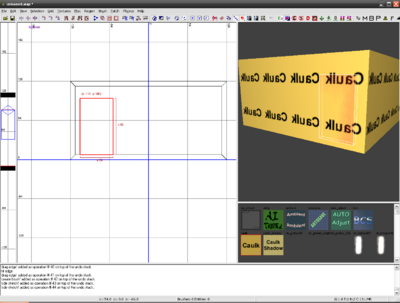
- Now for the walls, create a new brush from the top of the floor to the start of the ceiling, making sure its 8 units thick this time:
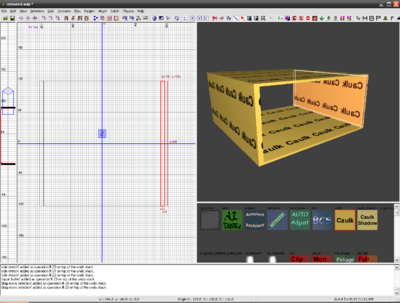
- Now Clone that wall and drag it to the opposite end:
![]() The wall is now 16 units to big of course so adjust it so it fits thesize of the other walls.
The wall is now 16 units to big of course so adjust it so it fits thesize of the other walls.
- Clone that wall now and drag to the opposite end:
Adjust corners
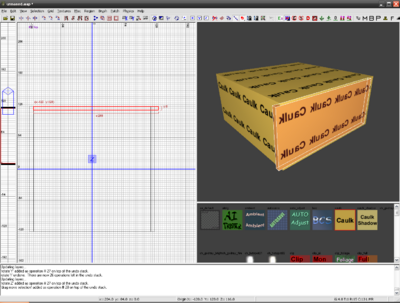
To avoid any texture overlapping and seal our room correctly you must adjust the corner of each brush to fit each other at an angle. To do so we will use the vertices from each brush and move them.
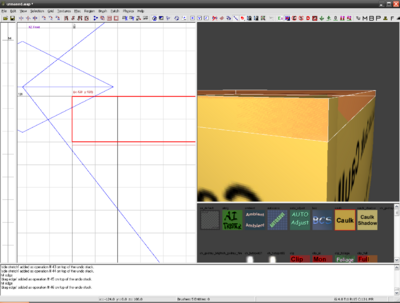
- Select any of the brush previously created, place the 2D view so that you can see the side of the brush like this:
- Now press E on keyboard to enter the Edit mode, you will see Blue dots showing at each end of the brush lines.
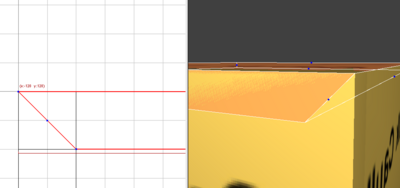
- Drag and drop the bottom blue dot so that it flushes at 45Degrees with the corner:
- Repeat for each brush, and each corner or each brush to obtain the following:
Doors & Windows
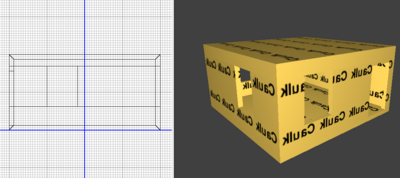
CODWW Radiant brings back the GSC Substract!! Basically the CSG Substract is a quick and easy way to make doors and windows, it substract the volume of a brush if place on top of another, let's see how this works:
![]() As earlier, check the Gameplay standards for Doors & Windows Sizing. In summary:
As earlier, check the Gameplay standards for Doors & Windows Sizing. In summary:
- Single door:
54 units wide/ 92 units high (inside the frame)
- Double door:
108 units wide/ 92 units high (inside the frame)
- Window:
52 wide/68 high (inside the frame)
Doors
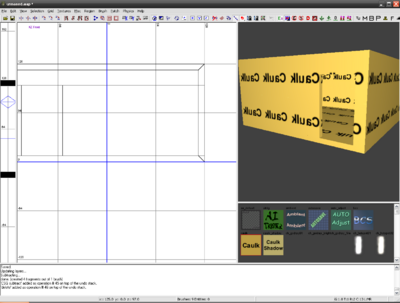
- Create a brush 54 units wide & 92 units high and place over one of the wall, starting from floor level on:
- With this new brush selected on top of the wall, Hit the CSG Substract Button on toolbar
 , then hit Suppress to delete the brush, the door space is now cut into the wall!
Windows
For the windows do exactly like for the door but change the brush size to 52 units wide & 68 units high:
 Note that for good Mantle, windows shoudl be place at 32 Units from the floor.
Texturing
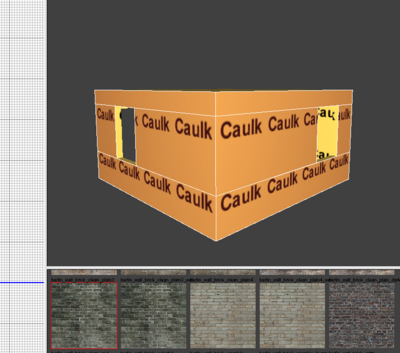
First you will need to select a texture. Treyarch have created sections/category of textures, when its not the best it does help to pinpoint what you need. Let's pick an 'Exterior Wall' Texture,
- In the 3D View, using CRTL+SHIFT (hold them) and LMB select all the exterior faces of the room
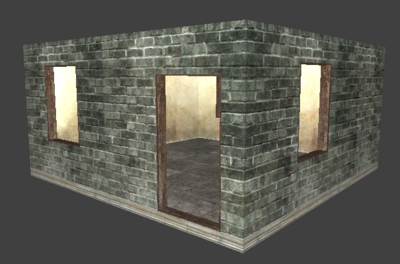
- Click on the texture of your choice, in this example i used berlin_wall_brick_clean_plain3:
![]() You can now adjust the texture placement by using ALT+RMB and drag the texture around
You can now adjust the texture placement by using ALT+RMB and drag the texture around
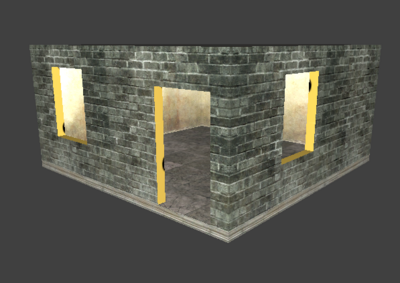
- To do the roof & insides of the room repeat the above steps but select appropriate textures:
Windows & Doors Trims
Now to create some window prefabs trims. In past version of Radiant the Tools always included some doors and windows prefabs of different size, sadly not this time. Oh well, let's create them ourselves!
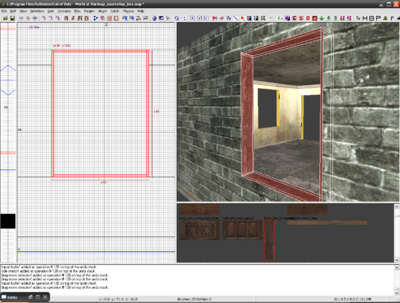
- Typically all you need to do is to create small woodden brushes of 1-2 units thick and place around the door and windows place in the walls, in this example i used the texture berlin_trim_wood_plain2 and used brushes of 1 units thick.
![]() Tip: Once you created one set of trimmings, just select all the brushes and clone (Spcebar) then drag the lot over the next window, door.
Tip: Once you created one set of trimmings, just select all the brushes and clone (Spcebar) then drag the lot over the next window, door.
- Result:
