Call of Duty 5: Fixing Lighting Bugs: Difference between revisions
Jump to navigation
Jump to search
New page: =Lighting Bugs= =='Bleeding== *Light bleeding usually happens at the base of a wall or in a corner. *You can avoid this by making sure your wall edges are cut to fit. [[Image:lm_bleed... |
mNo edit summary |
||
| (One intermediate revision by the same user not shown) | |||
| Line 1: | Line 1: | ||
=Lighting Bugs= | =Lighting Bugs= | ||
== | ==Bleeding== | ||
*Light bleeding usually happens at the base of a wall or in a corner. | *Light bleeding usually happens at the base of a wall or in a corner. | ||
*You can avoid this by making sure your wall edges are cut to fit. | *You can avoid this by making sure your wall edges are cut to fit. | ||
[[Image:lm_bleed3.jpg]] | [[Image:lm_bleed3.jpg]] | ||
| Line 15: | Line 16: | ||
*To fix this, the terrain must be made to fit the brush wall. | *To fix this, the terrain must be made to fit the brush wall. | ||
==black or glowing patches== | ==black or glowing patches== | ||
| Line 43: | Line 44: | ||
[[Image:Information.png]] Note that Xmodels can be lit by only one direct light at the time and that the Model's ORIGIN (little blue cube in radiant) Determines the Light Source! | [[Image:Information.png]] Note that Xmodels can be lit by only one direct light at the time and that the Model's ORIGIN (little blue cube in radiant) Determines the Light Source! | ||
[[Category:Call of Duty 5]] | |||
[[Category:Radiant]] | |||
[[Category:Mapping]] | |||
[[Category:Lighting]] | |||
Latest revision as of 12:42, 26 February 2009
Lighting Bugs
Bleeding
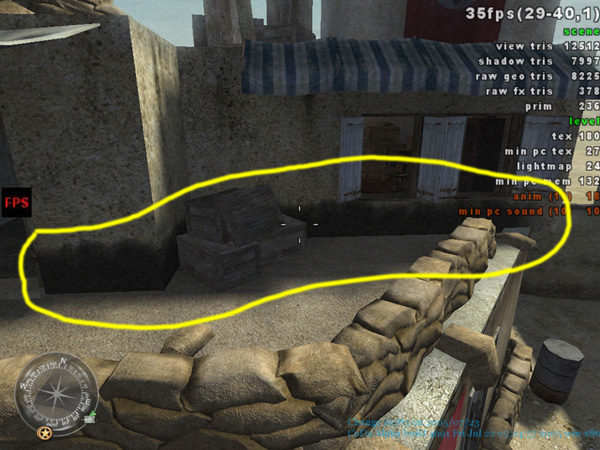
- Light bleeding usually happens at the base of a wall or in a corner.
- You can avoid this by making sure your wall edges are cut to fit.
- Terrain light bleeding is harder to fix. In COD5 this happened mostly with walls that are placed in open areas.
- To fix this, the terrain must be made to fit the brush wall.
black or glowing patches
- Black or glowing patches can occur on any patch surface, but it mostly happens on decals that are placed on walls.
- To fix black or glowing faces, go into light map mode (shift L) and use natural mapping on these patches.
 In some cases, there is a decal floating over the surface. To fix this, move the decal so that it is not floating.
Seams and Stretching
- Light seams and stretching are breaks in the continuity of the UV’s on a light mapped surface. This is common on patch surfaces, but can also appear on brush surfaces as well.
- To fix light seams, go into light map mode (shift L) and edit the mapping until it is continuous.
Model Tweaking
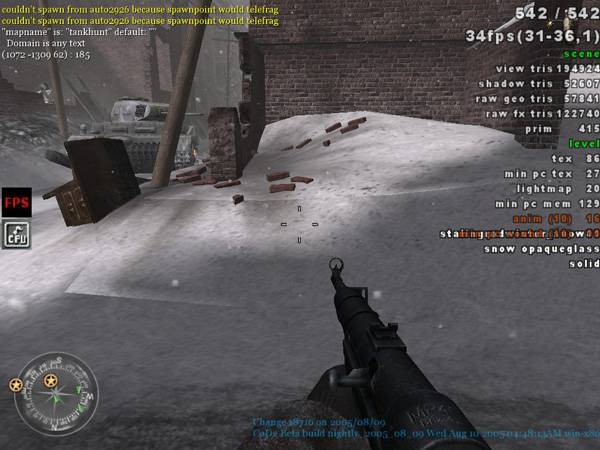
- If you see a static model that looks too bright or too dark, you may be able to fix it by moving it slightly into or out of the direct light.
![]() Note that Xmodels can be lit by only one direct light at the time and that the Model's ORIGIN (little blue cube in radiant) Determines the Light Source!
Note that Xmodels can be lit by only one direct light at the time and that the Model's ORIGIN (little blue cube in radiant) Determines the Light Source!
