Call of Duty 5: Lighting: Difference between revisions
Jump to navigation
Jump to search
mNo edit summary |
mNo edit summary |
||
| Line 48: | Line 48: | ||
[[Category:Radiant]] | [[Category:Radiant]] | ||
[[Category:Mapping]] | [[Category:Mapping]] | ||
[[Category:Lighting]] | |||
Latest revision as of 12:42, 26 February 2009
![]() This tutorial show you how to add basic and primary lights to your map.
This tutorial show you how to add basic and primary lights to your map.

Basic Light
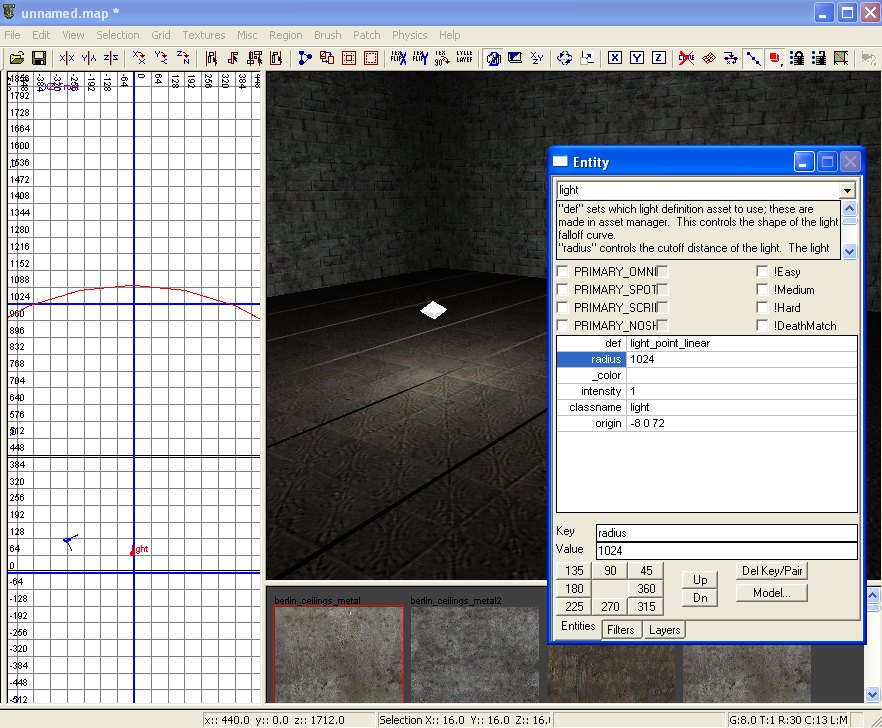
- To create a light right click on the grid and go to "light".
- If your light is too small or too big you can open the entity editor with "n" and type in the Key / Value of radius / ###.
Primary Lights
First create a normal light as explained above. Then in the entity editor "n" click on the check box for PRIMARY_OMNI.
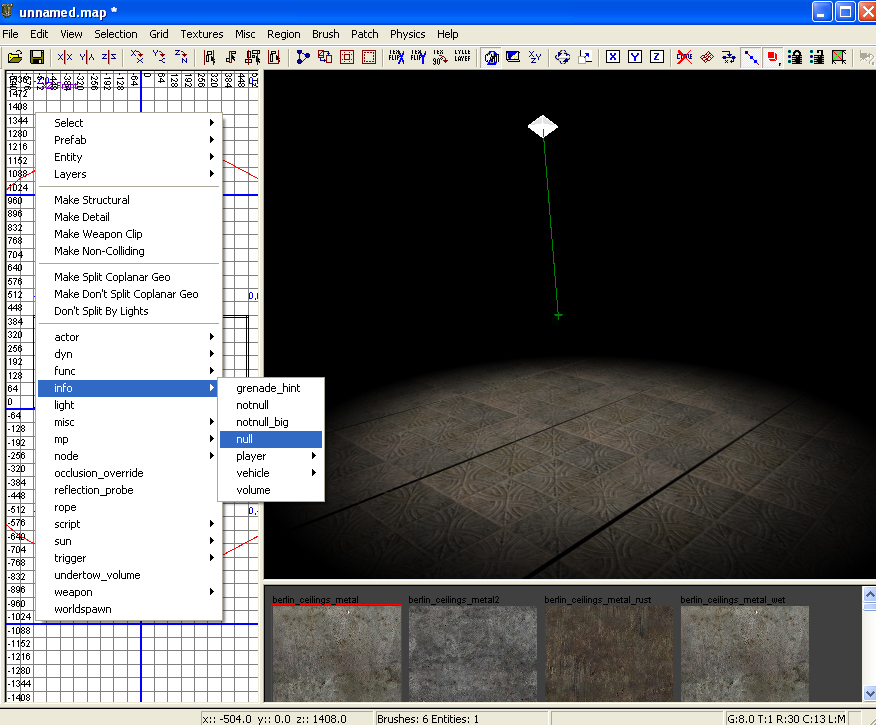
- For any primary light we need a null entity connected to the light to tell the game what direction to cast shadows in.
Right click on the grid and go to "info -> null". Place this under your light. Connect the light to the null entity.
- Select the light THEN select null, press "w" to connect.
Light Settings
Key / Value
- _color / # # # <----- # = value / 255. R G B
- radius / # <----- # = units
- intensity / #
- fov_outer / # <----- # = degrees
- fov_inner / #
Light Preview
To get to the Light Preview options go to "View -> Light Preview".
- Enable Light Preview - Enables or Disables the preview as a whole.
- Preview sun as well - When previewing lights, it shows worldspawn lighting too.
- Start previewing selected - Adds selected lights to continuous preview.
- Stop previewing selected - Removed selected light from continuous preview.
- Clear preview list - Resets continuous preview.
Sources: Treyarch's Wiki


