Call of Duty 5: Skybox: Difference between revisions
Dethpikabel (talk | contribs) (New page: == Introduction == Every map must be enclosed in a skybox, which is a set of structural brushes which enclose the map separating it from the endless void outside. If you don’t have a sk...) |
Dethpikabel (talk | contribs) No edit summary |
||
| Line 137: | Line 137: | ||
skybox_zombie | skybox_zombie | ||
--[[User:Dethpikabel|Dethpikabel]] 15:36, 21 November 2008 (UTC) | |||
Revision as of 18:36, 21 November 2008
Introduction
Every map must be enclosed in a skybox, which is a set of structural brushes which enclose the map separating it from the endless void outside. If you don’t have a skybox, or if it doesn’t completely surround your map you will get leak errors when you try to compile your map.
The Skybox
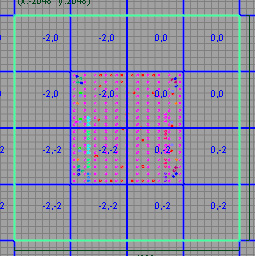
The simplest way to create these brushes is to create a single solid brush that encompasses your map then use the hollow tool to turn it into a box. To do this start by creating a new brush that covers the entire playable area of your map. It’s a good idea to add a gap from the edge of your map - 1000 units from the edge is a reasonable amount. You can see in the image below how my brush looks (the map occupies the 4 blocks in the center)
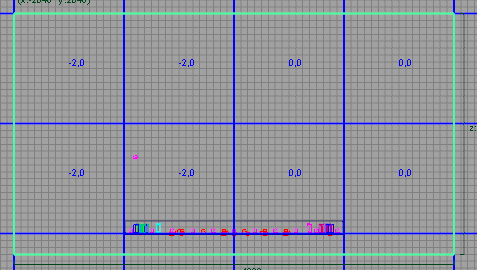
And from a side view you can see I’ve extended the brush to cover the area roughly 2000 units above the highest point on my map and a little area below.
With your new brush selected click the hollow tool on the toolbar and Radiant will automatically transform your solid brush into a six sided box. Don’t deselect the box yet!
Now we’re going to add a sky texture to our skybox. With all six sides of your box selected go to the Textures -> Usage menu and select Sky and click on one of the resulting Sky textures from the texture window. Make a note of the one you selected.
The Skybox Model
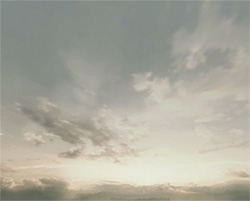
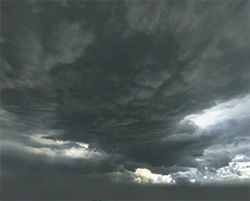
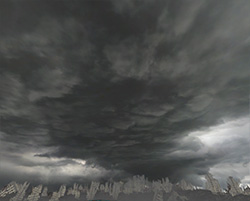
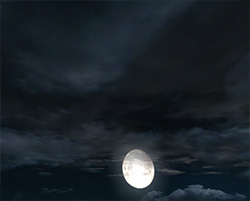
You may notice that the skybox looks blurry – don’t panic! – while we need the skybox to enclose our map CoD:WW uses a 3D model for the actual sky which we’ll add next.
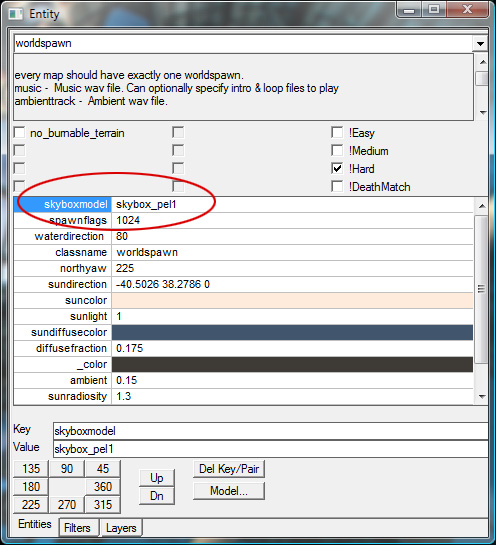
Deselect your skybox (and everything else) by pressing Escape a couple of times then bring up the entity window (default: ‘N’) and you should be looking at the ‘Worldspawn’ entity. We need to add a new key/value pair to identify which sky model we’re going to use. The key to use is skyboxmodel and the value should be the name of the skybox model you want to use.
While the texture we chose earlier for the skybox doesn't appear to have any influence on the sky once we add the model (the texture effectively becomes invisible) it's probably a good idea to keep the two in sync.
Almost done, we just need to add the skybox model to our zone files so it'll be included in our fast file. To do this open 'zone_source/[your_map].csv' and add the line;
xmodel,[your_skybox_model]
Where [your_skybox_model] corresponds to the skybox model you've selected i.e. skybox_ber1
Available Skybox models
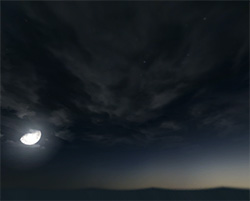
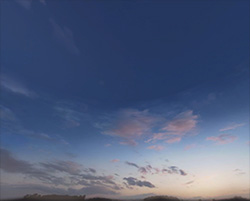
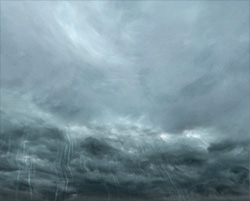
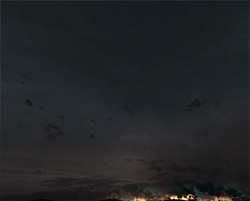
The following skybox models are included with the tools;
skybox_ber1
skybox_ber2
skybox_ber3
skybox_fly
skybox_hol1
skybox_hol2
skybox_hol3
skybox_mak1
skybox_mp_court
skybox_mp_knee
skybox_oki1
skybox_oki2
skybox_oki3
skybox_pel1
skybox_pel1b
skybox_prologue
skybox_rhi1
skybox_rhi2
skybox_rhi3
skybox_see1
skybox_see2
skybox_sniper
skybox_test
skybox_zombie
--Dethpikabel 15:36, 21 November 2008 (UTC)
