Call of Duty 4: Maya Static Model Export
After installing the Maya Export Tools, that are included in the Mod Tools 1.0 released by Infinity Ward, you are able to add custom models to your custom maps. The Exporter tools are available for Maya 7 to 8.5.
Setting up your Maya environment
Before you start working with Maya, you will need to update your environment variables and usersetup.mel file for Maya to point to and load the current location of the Mod Tools script and plugins.
Maya.env
You must add the two lines of code below to your Maya.env file located in
C:\Documents and Settings\<username>\My Documents\maya\<maya version>
MAYA_SCRIPT_PATH  = C:\Program Files\Activision\Call of Duty 4 - Modern Warfare\bin\maya\tools
MAYA_PLUG_IN_PATH = C:\Program Files\Activision\Call of Duty 4 - Modern Warfare\bin\maya\tools
usersetup.mel
You must also add these few lines to your usersetup.mel, located here by default
C:\Documents and Settings\<username>\My Documents\maya\<maya version>\scripts\
source CODToolsMenu;
CODStartup;
CODToolsMenu;
The Microsoft C++ redistributable will be required (if you don't have Visual Studios installed). The download is available (free) from Microsoft Here.
Setting up Maya
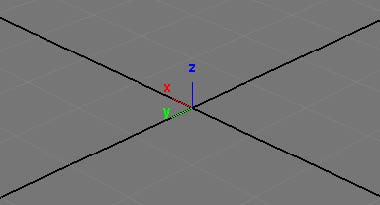
Setup Z UP
Be sure that your Maya viewport setting is Z Up, coz the COD4 engine is a Z Up System like most of the 3D Engines.
Check your scaling
After the modeling is finished, be sure that your scaling is correct. This is really important if you are freezing your translations in Maya. The Exporter don't take care about scene scaling.
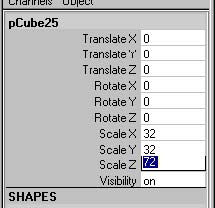
The modelscaling is absolutly important. This means when u create a Cube with the scaling 1x1x1 it appears in the radiant like a 1x1x1 unit Brush. If u scale the cube up to 128x128x8 the Cube appears like a 128x128x8 brush.
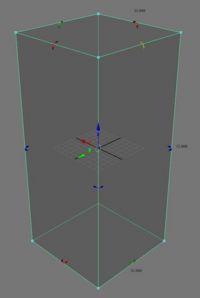
Setup a reference scale object
The best way to find the right scaling, create a Cube like a Player Model in Radiant.
Setup the right scale
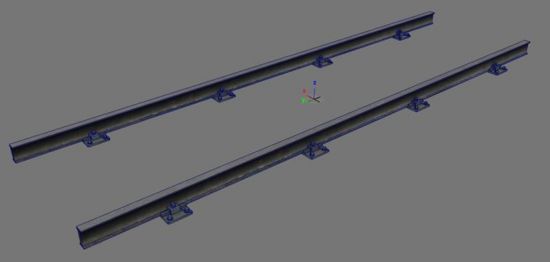
If you freezed your transforms allready be sure that u scale up your model to the right size and dont freeze the transforms. Here is an example of one of mine models that explains what i mean. The scale values of the train track module is 1x1x1.
I scaled it up to 256x256x256, because it must be a 256Units Object in length. In the editor the model has a real default modelscale of 1.0. Its a bit confusing all that scale stuff, but you will find out what kind of method works good for you.
Setup the shader name
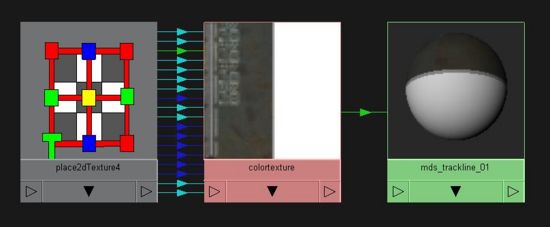
After setting up the right scale, the name of the shader is the next really important step in the export and assetmanager convert procedure. My train track has a lambert shader assigned to the object and is called
mds_trackline_01
This name is really important for the later assetmanager convert.
Be sure that your texture, you had assigned to the shader, is in the same directory where the model will be exported. In my case its here.
Call of Duty 4 - Modern Warfare\model_export\props\
Setup the vertex color
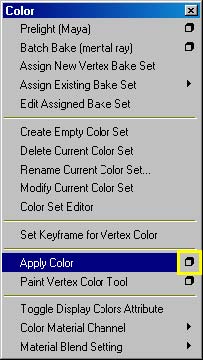
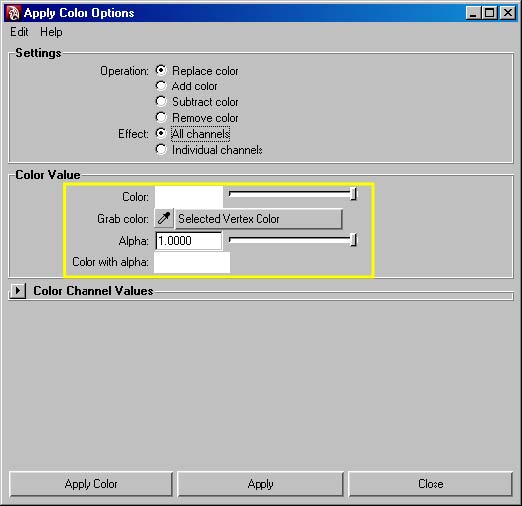
For the correct viewing in the editor and ingame your model needs a vertex color of white. If u dont give the model a white vertex color, the model appears black shaded in the editor and in the game. To setup the vertex color go to the Polygons Menu and then to the Color Menu. Open up the option box of the apply color option.
Select your Object and press apply.
Exporting
Setup and Export
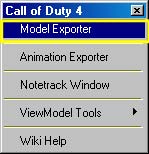
Open up the Model Exporter in the Call of Duty 4 Menu. And press, Add new Entry. Then select your model and press Set Exports. Setup the correct folder and give the file a name. Its important that the model destination is the right folder given by the mod tools. In my case i export the model in this folder.
Call of Duty 4 - Modern Warfare\model_export\props\
If all this is setup, activated the Entry1 and press Export Selected Entries. After the export is finished the Maya export is done. Time for some Assman Nightmare. ;)
Asset Manager Setup and Convert
Setting up the Material
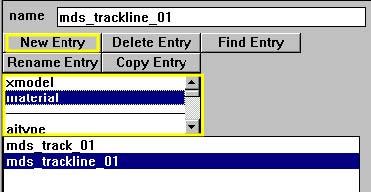
If we open up the asset manager we get an area in the window that looks basically like this.
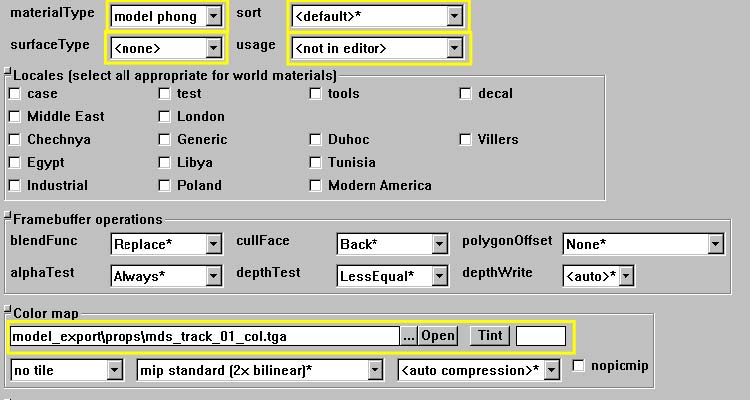
First we have to setup the material for ourer model. Search for the Attribute material in the scroll down menu. Select it and press New Entry. Give the Entry the same name like the name of the shader we gave in maya. Then press okay! Select your new Entry. On the right side we have many options for the material.
Set the materialType to model phong. You can also give the material a surfaceType. That is the sound and behavior of the material ingame. Setup your Texture, in may case it a color and spec map. Be sure that the texture is in the same folder like the model (IMPORTANT!).
Basically thats all for a base setup. I can play around with the setting to learn how you can use it correctly and in good point at later projects.
Setting up the Model
Basically its the same like for the material.
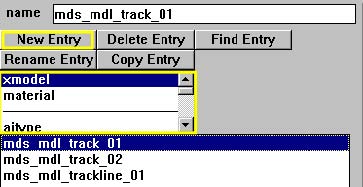
Search for the Attribute xmodel in the scroll down menu. Select it and press New Entry. Give the Entry a name of your choice. Its the name of the model in radiant. Then press okay!
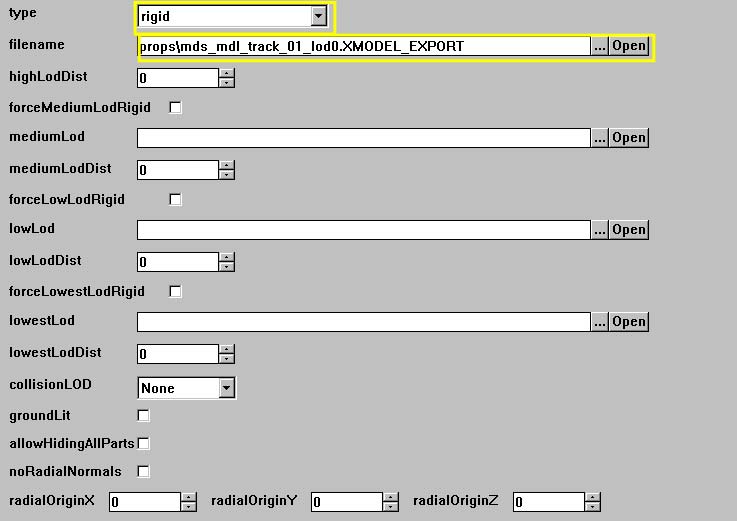
Choice type rigid, because our model is a static/rigid model. Setup the LODs if u have some. In my case its just the highest version at the moment. CollisionLOD is important if you want that your bullets are collidate with the model.
Saving the gdt file and convert
Now save your assetmanager settings to a gdt File and save the gdt file in the model_export folder. Important! Select in the pulldown menu the material and than the material entry. In my case its mds_track_01. Then go to the menu „PC Convert“ and select „Current Asset only“
A successfull export looks like this:
Next we convert the model. Select in the pulldown menu the xmodel and than the model entry. In my case its
mds_mdl_track_01. Then go to the menu „PC Convert“ and select „Current Asset only“
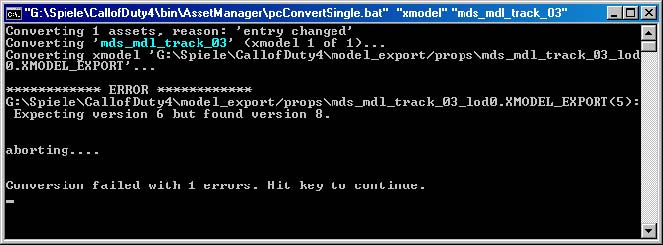
Now i am sure you get an error like this. This is a problem from the converter tool. The converter tool is out of date. It seems so, coz it just accept Xmodel Version 6, but the Maya Exporter exports Xmodel Version 8.
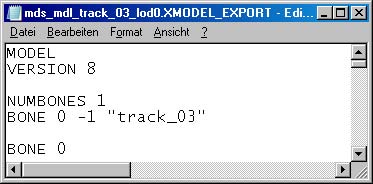
Just go to the folder were the model is located and open it in a text editor. And change the
model version from 8 to 6. Then save the file.
Repeat the convert. Select in the pulldown menu the xmodel and than the model entry. In my case its mds_mdl_track_01. Then go to the menu „PC Convert“ and select „Current Asset only“
A successfull export looks like this.
Importing in Radiant
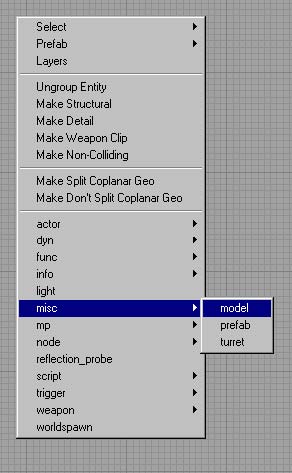
In your level, press right mouse button and open up the menu model to create the model entry. The File browser is opening up. Go to the Call of Duty 4 - Modern Warfare/raw/xmodel/ folder and search for your model name. In my case it's mds_mdl_track_01.
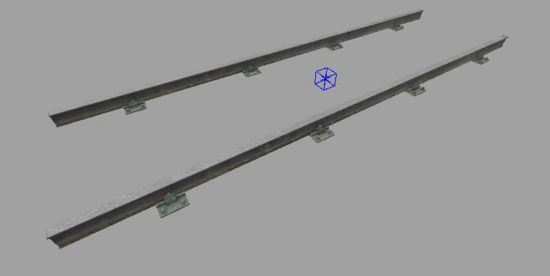
In the editor the model looks like this:
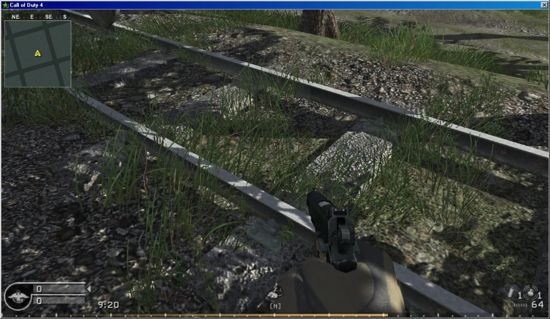
Ingame it looks like this:
Afterword
I hope this tutorial will help u and make your model export successful. I am really happy to see some new models poping up in same custom maps.
Greets to all people that using this tutorial, to my friends and my family. Thx for supporting me over all the years. Sorry for the bad english, i am a german guy. :)
Comments are welcome. Drop me a line in the infinity ward forum via pm or write me a email to tuts at kaypoprawe dot com
Best regards, Kay „mdS“ Poprawe
