Call of Duty 4: Decals
![]() This tutorial will explain in detail how to add Decals to your maps. In this tutorial I will show you how decals can give a room a much more realistic feel to them.
This tutorial will explain in detail how to add Decals to your maps. In this tutorial I will show you how decals can give a room a much more realistic feel to them.

 There are several techniques to add decals in a map, this is only one of them!
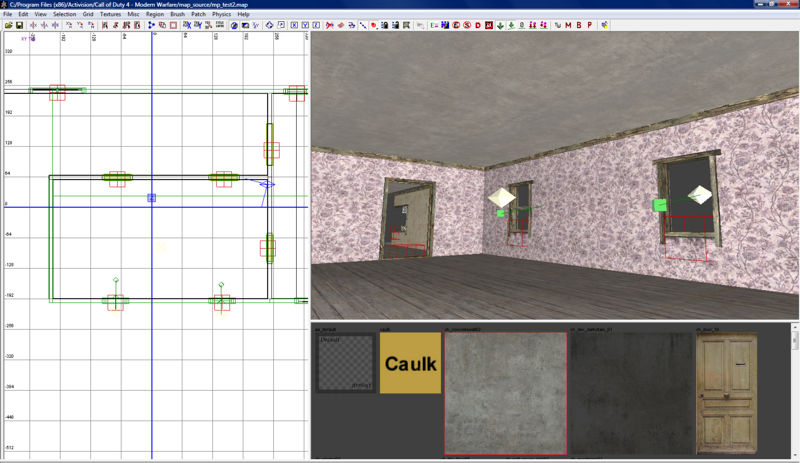
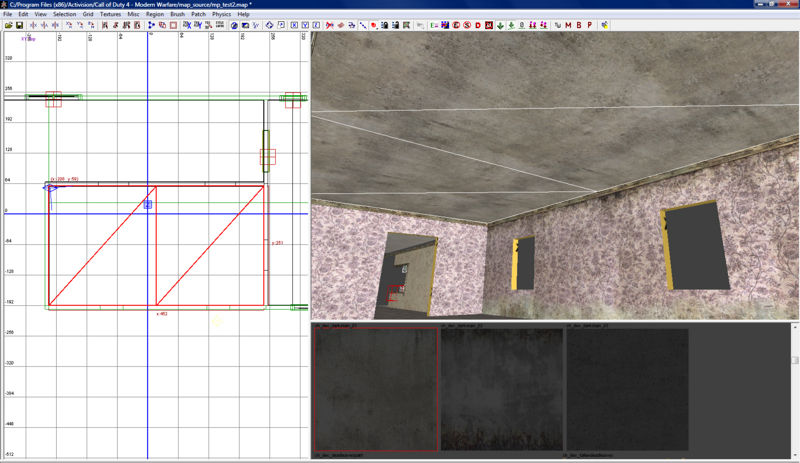
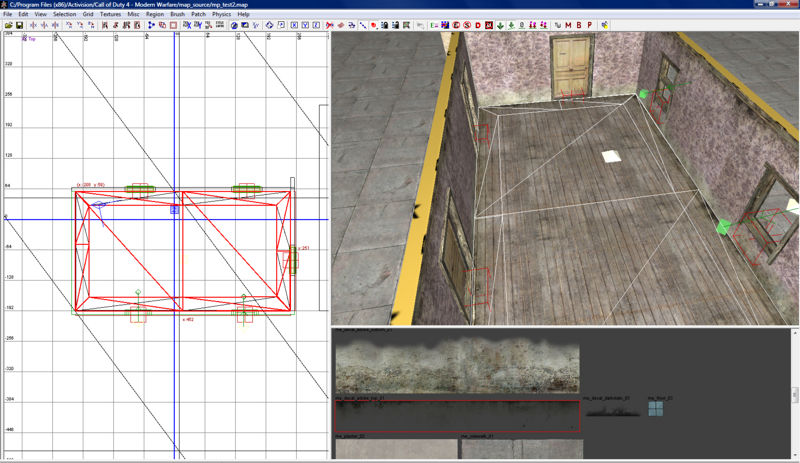
Lets start by creating a simple room. Here I have room with two windows and an internal light source, which can be altered later.
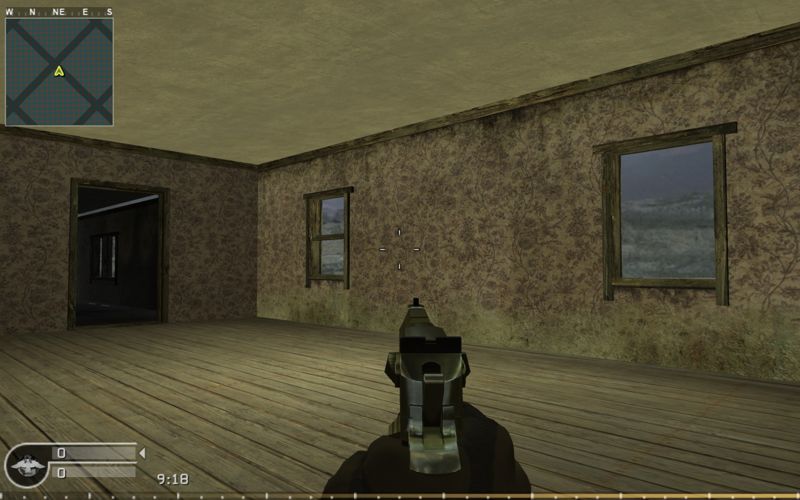
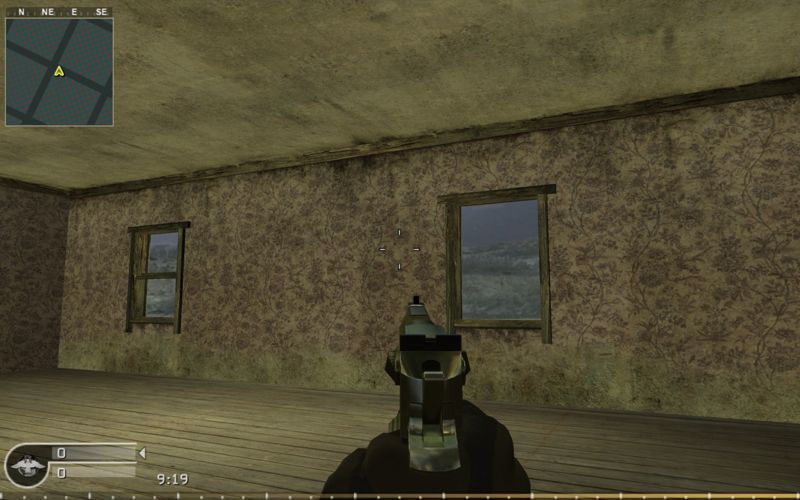
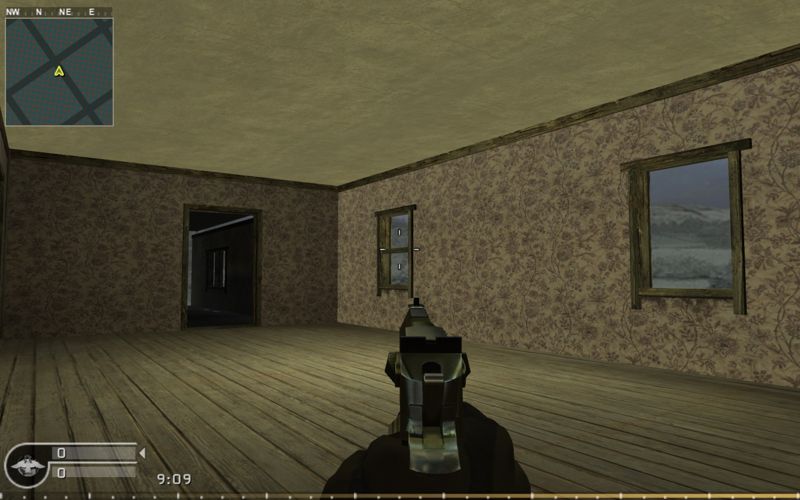
Now here is how the room looks ingame.
As you can see its not very realistic nor is it very detailed.
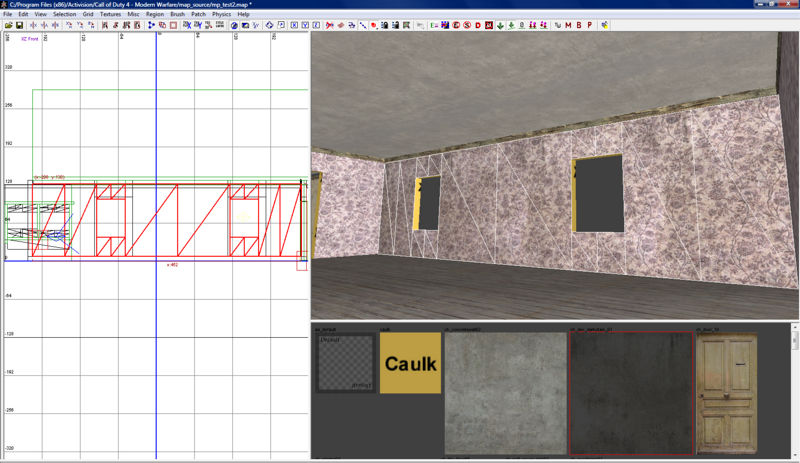
Lets start by creating a "Terrain Patch" to cover the entire wall.
Once thats done apply the "ch_dec_darkstain_01" to it.
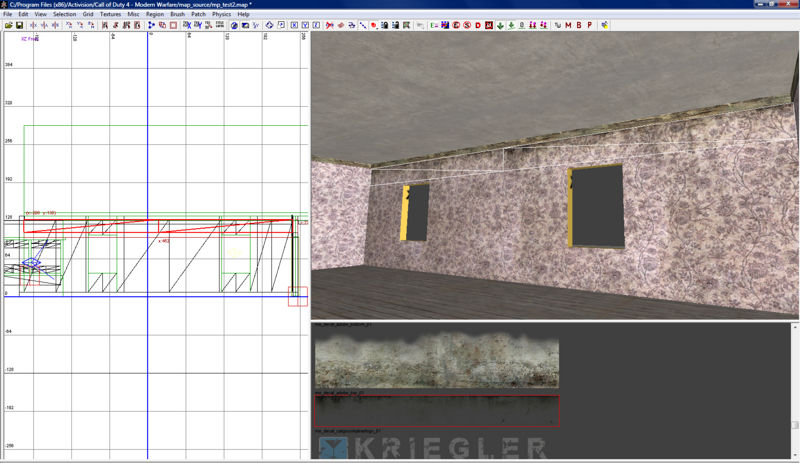
Create another "Terrain patch" but this time place it at the top of the wall, taking care not to cover your windows or doors.
Once thats done apply the texture "me_decal_adobe_top_01" to it.
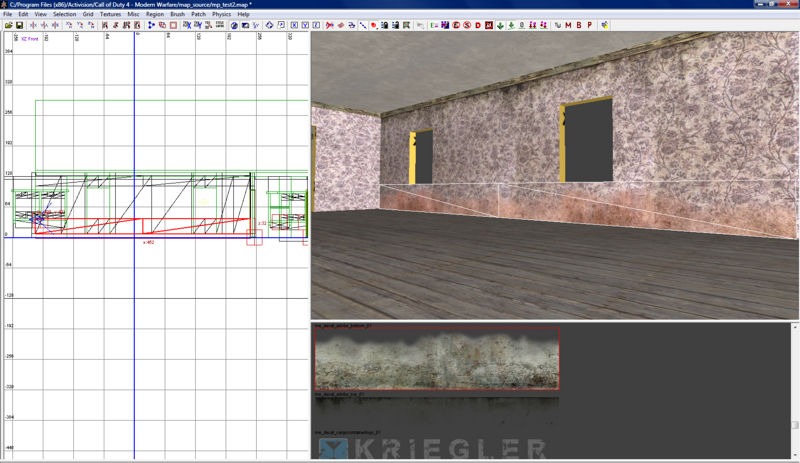
We now need to create another "Terrain Patch" but this time place it at the bottom of your wall and use the "me_decal_adobe_bottom_01" texture.
As you can see the wall is looking pretty good although the ceiling / floor now stands out.
Create a "Terrain Patch" to cover your entire ceiling, and again apply the "ch_dec_darkstain_01" to it.
Create another "Terrain Patch", this time move it close the the ceiling edge and add the "me_decal_adobe_top_01" to it.
Copy & paste the terrain patch around all the edges of your ceiling. Taking care to rotate and align the texture as needed.
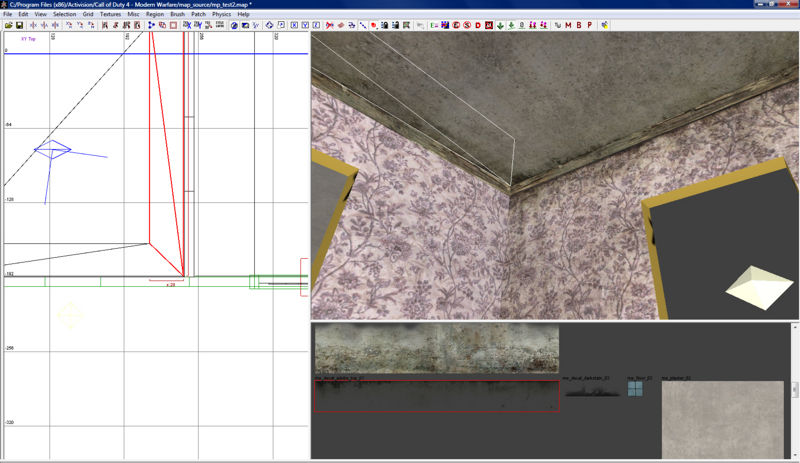
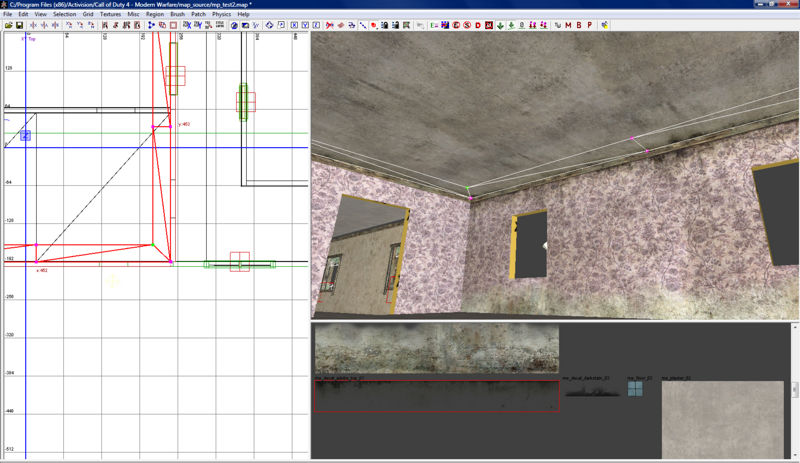
To give a better finish edit your patch in the corners so that it joins as shown in the image below. (this will stop the patch overlapping in the corners)
Here is how they will look when joined together.
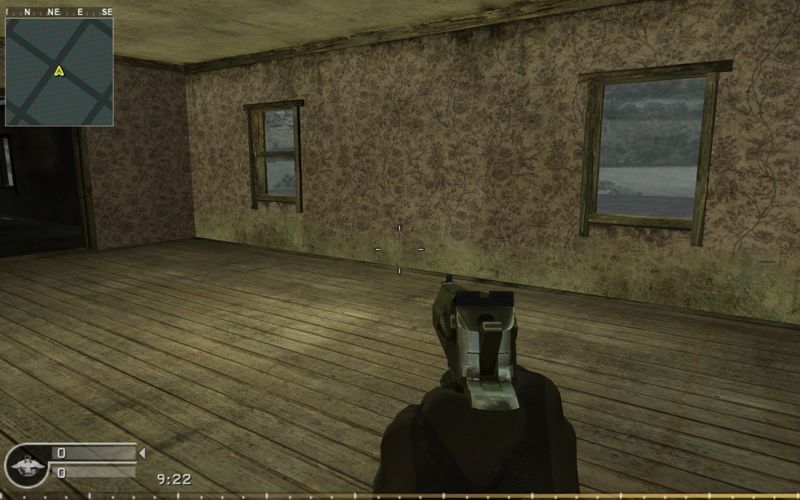
If we jump in game we can now see how both the wall and ceiling now have an authentic feel to them.
For the floor you can cheat ;)
Simply select all the "Terrain Patches" you used on your ceiling then hit the "SPACE BAR". This will copy all the selected patches.
Lower the patches until they are level with your floor then hit "CTRL + I" this will invert your textures so they now show on the floor.
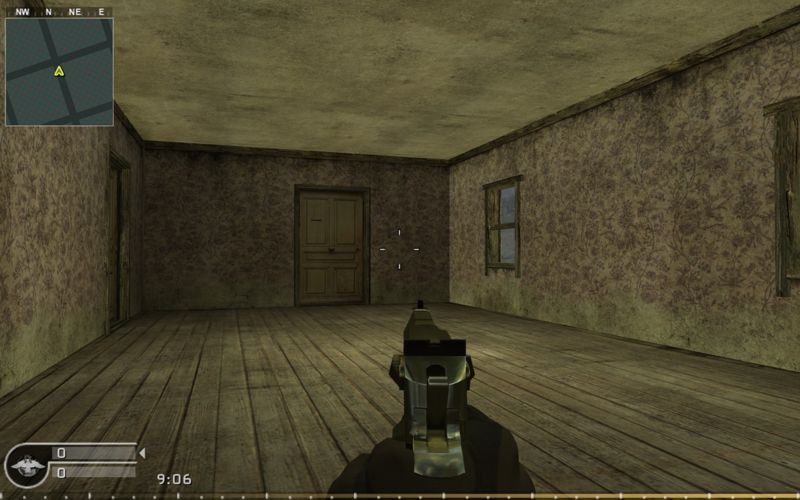
Which in game looks much better.
Now you have one wall completed you can simply copy and paste the patches around the other walls of your room. Taking care to resize and re-align the textures if needed.
Once complete you should have something that looks like this.
Now that we have the basic decals in place we can set about adding the smaller details to the room that really bring it to life.
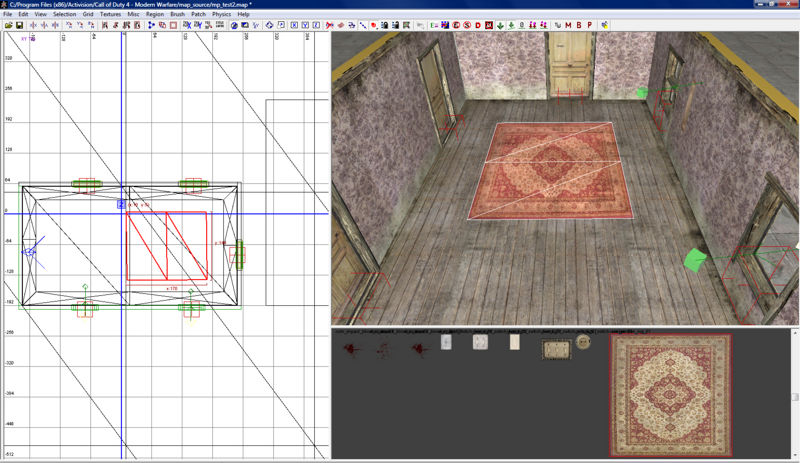
Lets start by adding a rug or two to the floor.
Create a new "Terrain Patch" and make it level with your floor. (An quick way to do this would be to copy & paste the patch that currently covers your entire floor)
Apply the "com_persian_rug_01" to it and resize the patch until it looks something like you want.
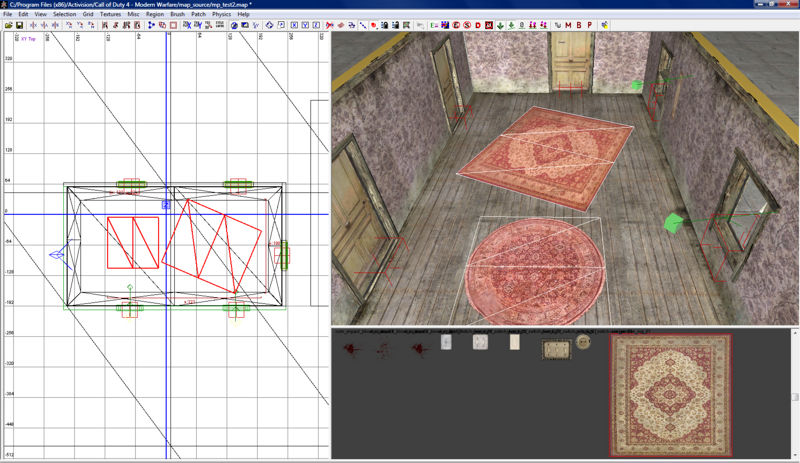
If you want more than 1 rug simply copy and paste the patches over the floor area.
You can even rotate some of the patches slightly to give it a more random feel to it. To do this select that patch you want to rotate and hit the "Free Rotate" button ![]() .
.
Next I will show you how to add decals to your walls.
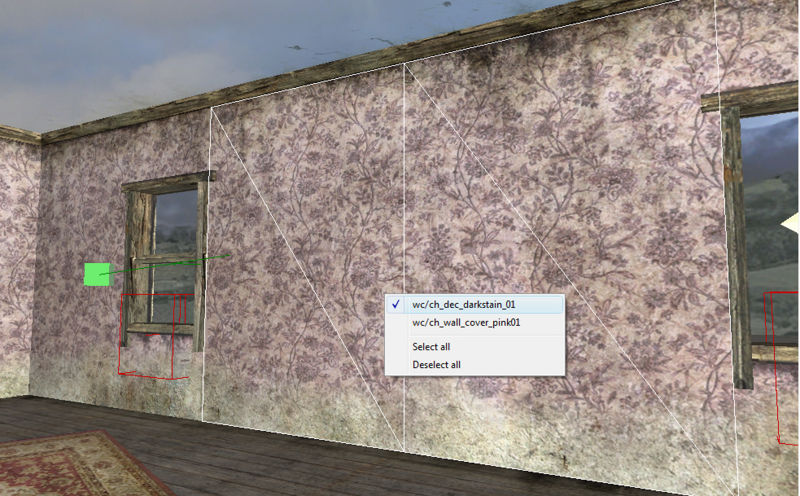
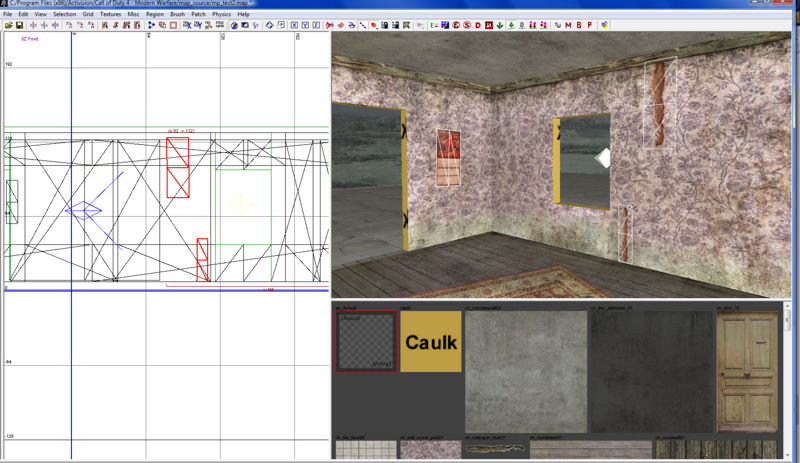
Lets go back to the wall we started with and select any of the "Terrain Patches" that you created earlier.
- TIP: An easy way to select the correct patch is to "right click" the mouse over the area in the 3D Preview window. As shown below.
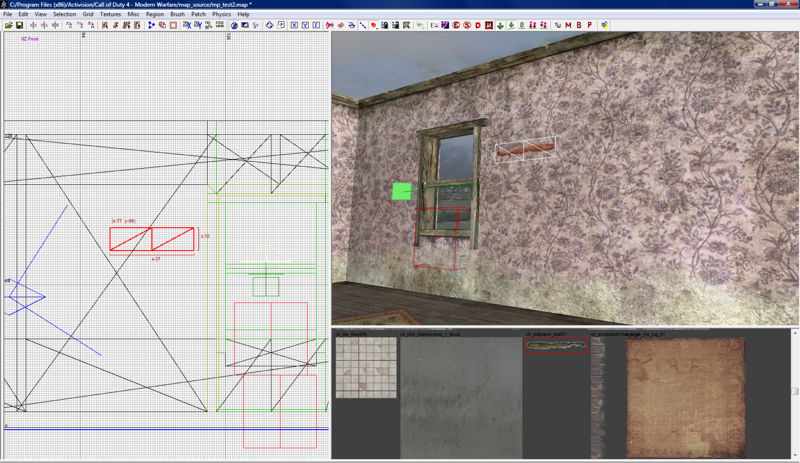
Once you have selected a patch simply hit the "Space Bar" to copy the patch.
Apply the texture "ch_wallpaper_tear01".
You can now move and alter the newly created patch as you wish.
Here I have reduced it and placed it next to a window.
You can now just simply copy this patch and place it randomly around the room.
Dont be afraid to try other decals on the walls.
Here I've added a poster using the same process.
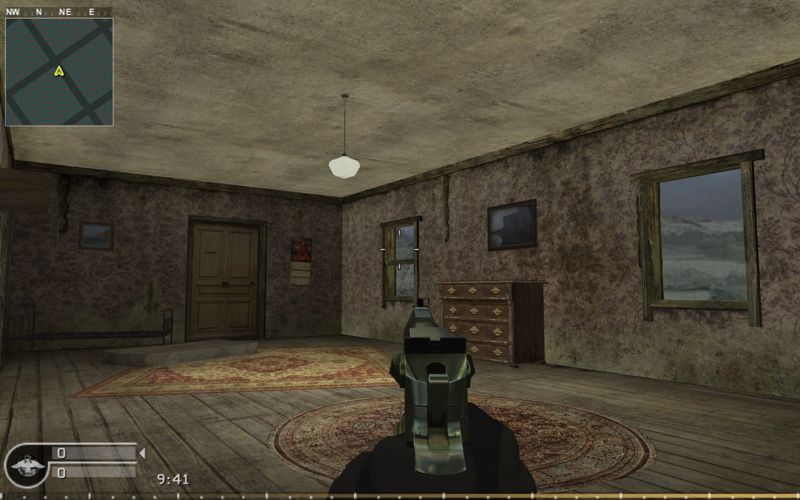
You can now finish the room off by adding some models and playing around with the lighting.
Here is my finished version.
BEFORE
AFTER
You can also download this as a prefab HERE or HERE
--Paulo88 00:15, 19 October 2008 (UTC)
