Call of Duty 2: Lightning Documentation
![]() Lighting with COD Tools is a fun and wonderful experience to be had by all! That is why I thought I would write up this handy document describing how to use our lighting system, as well as add few tips on giving your maps some drama.
Lighting with COD Tools is a fun and wonderful experience to be had by all! That is why I thought I would write up this handy document describing how to use our lighting system, as well as add few tips on giving your maps some drama.
World Spawn
This is where you set the overall look for your map lighting.
There are two ways to edit worldspawn settings. After opening a map in radiant, press the “n” key. You can access the worldspawn settings and input values into the key and value boxes.
The other (preferred by me) way is to open the map in a text editor and change the values that you find at the top of the page.
By default, the lighting settings are empty. You can input them manually or just copy and paste from another map to get started.
Direct Light
Direct light is basically anything that is in a direct sunlight. This is where most of the normal and specualar values can be seen.
sunlight
- Sundirection # # #: The axis are based on world space not local to the light. The first number is the north south axis. The second number is the up down axis. The third is the axis through the light and therefore usless.
- 0 0 0 --- light comes from the right
- 90 0 0 --- light comes from the bottom
- -90 0 0 --- light comes from the top
- 0 90 0 --- light comes from the top
- 0 180 0 --- light comes from the right
- sunlight #: The brightness of the sun light. Values over 1 will be overbright.
- suncolor # # #: there are 3 values to set for suncolor. Radiant uses a range from 0-1 instead of 0-255.
You can pick the rgb values you want and then divide that number by 255 to get the value that fits in the 0-1 range.
Indirect Light
Indirect light is anything that is not in direct sunlight. Bump and spec values are about 30% intensity.
Shadows and Shade
- ambient #: This is the amount of ambient light added to the scene. I usually use ambient to set what I want the darkest dark to be. If you go too high the map tends to look flat.
- _color # # #: This is the ambient color value.(Isnt it obvious?) Use the same method for _color as for the suncolor to get the ambient color. This value also mixes with the sun color.
- diffusefraction #: This is the brightness of the indirect light source. If you use a value of 1, sunlight is not visible.
- sundiffusecolor # # #: This is the color of the indirect light source.
- bouncefracion #: This is the intensity of the GI calculation. Higher numbers result in flatter shading where light is present.
Compiling And Iteration
Compiling
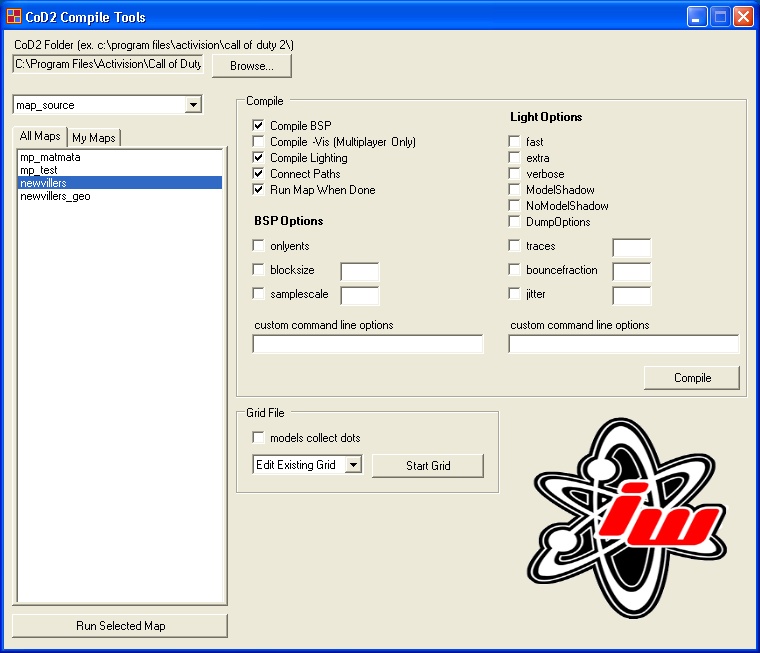
Using Compile Tools
Inside call of duty/bin/, (thanks to Chad G.) there is an exe that is an interface with the compiler. Use this application instead of the command line to iterate.
- The first section on the left is a list of your maps.
- The next section in the middle at the top is where you set your options for compiling the geometry and light map resolution.
- The section in the bottom middle is where you set your lighting options.
Iteration
Iterating on your maps can be a very slow process when it comes to lighting.
You can speed this up somewhat by using lower quality settings.
The first thing you can do is set the samplescale to higher numbers for a lower light map resolution. The default is 1.
The other thing you can do is use fast in the lighting section.
After you have tweaked your map enough, you can then use default samplescale and set the lighting section to extra.
Using modelshadows may slow things down, but I have not noticed any big difference in render times.
Local Lights
Local lights are mostly used for light sources such as lamps, candles, and artificial lights. They can also be used for adding to an area that needs more diffuse or bounced light, or for a dramatic shadow effect.
Point lights
To create a point light, right click in the 2d view and choose light.
Point lights use the following variables:
- Color # # #: The color of the light.
- Radius #: The range the light can illuminate within.
- Def (def preset): The falloff definition of the light.
This variable uses a one pixel high texture to set the type of falloff you want.
You can find existing def setting on the light.gdt file in texture assets or you can make a custom falloff type by making a new texture and adding it to the lights.gdt file yourself
Def examples:
light_point_linear: basic linear falloff curve
light_point_quadratic: hotspot is closer to center
light_point_linear_nocenter: basic linear falloff without lumination
at the center. Use this for situations that require an object to cast a shadow
but not be illuminated by placing the light near the said object.
tunsten_lamp: Used to simulate standard bulb type lights.
Spot lights
To create a spot light, make a point light and a null object(by right clicking in the 2d view and selecting info/null) and then press W to connect the light to the null.
Spot lights use all of the point light variable as well as the following.
- Exponent #: The transition between the fov variables.
This variable is an integer. Higher numbers will result in a smoother look.
Without setting an exponent, the Fov_inner will have no effect on the light. - Fov_inner #: The tightness of the hot spot.
- Fov_outer #: The angle of the spot light cone.
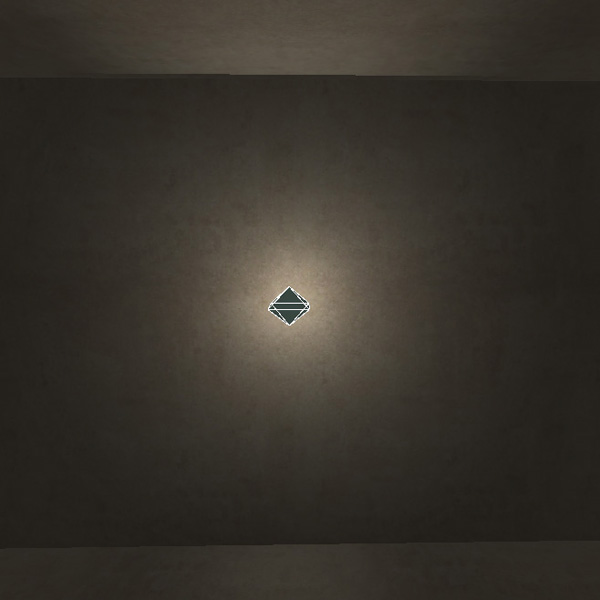
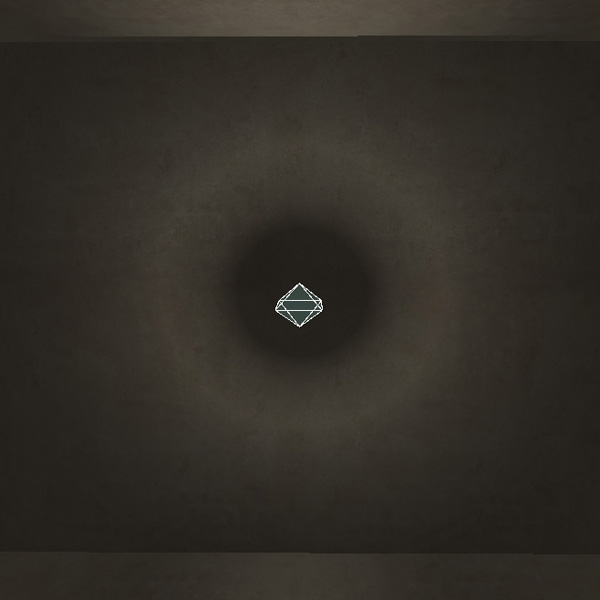
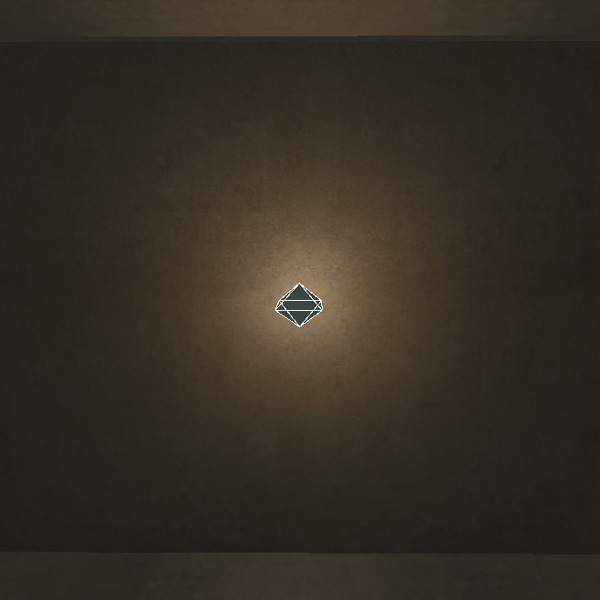
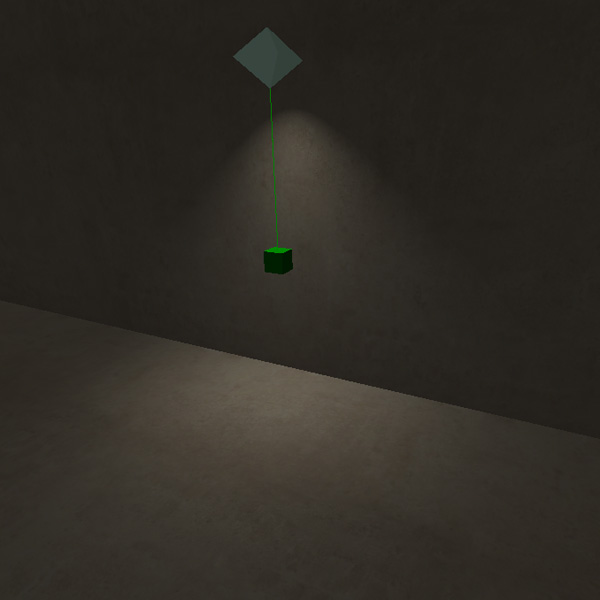
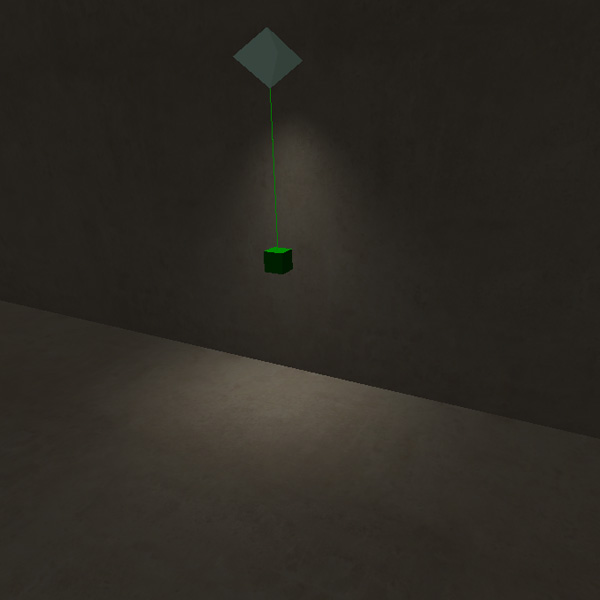
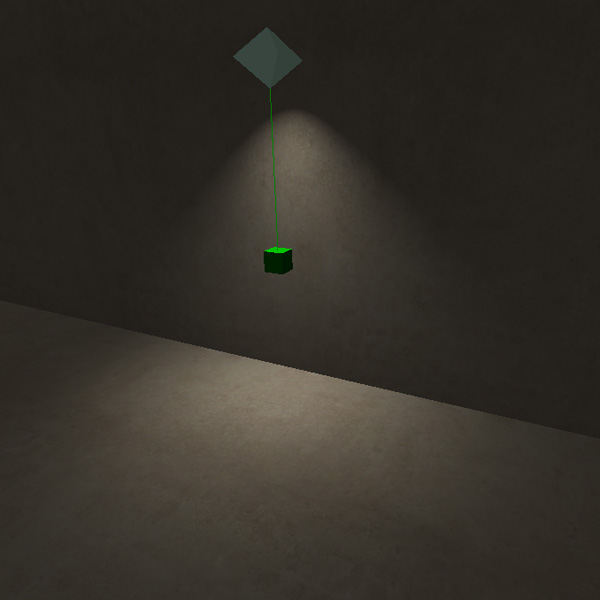
Spotlight Examples:
exponent 0 fov outer 100
exponent 1 fov outer 100
exponent 2 fov outer 100
exponent 1 fov outer 100 fov inner 60
Fine Tuning Your Lighting
Lightmap Editing
Setting resolution
You can set the resolution of the light map on a per face basis to get sharper shadows in isolated areas. As a rule, you should not use values smaller than 4.
To edit resolution an a per face level, go into lightmap mode by pressing shift L. You will now see a checker pattern on the world. This is a representation of the size of the light map pixel density. You can now select the faces you want to edit. You are now able to change the mapping the exact same way that you would edit texture placement.
Optimizing
To make your map as efficient as possible, you should set the light map resolution to lower values for areas that the player cannot go to or see up close.
Lighting Bugs
Bleeding
Light bleeding usually happens at the base of a wall or in a corner. You can avoid this by making sure your wall edges are cut to fit.
Terrain light bleeding is harder to fix. In COD2 this happened mostly with walls that are placed in open areas.
To fix this, the terrain must be made to fit the brush wall. black or glowing patches
Black or glowing patches can occur on any patch surface, but it mostly happens on decals that are placed on walls.
To fix black or glowing faces, go into light map mode (shift L) and use natural mapping on these patches.
In some cases, there is a decal floating over the surface. To fix this, move the decal so that it is not floating.
Seams and Stretching
Light seams and stretching are breaks in the continuity of the UV’s on a light mapped surface. This is common on patch surfaces, but can also appear on brush surfaces as well.
To fix light seams, go into light map mode (shift L) and edit the mapping
until it is continuous.
Model Tweaking
If you see a static model that looks too bright or too dark, you may be able to fix it by moving it slightly into or out of the direct light.
You can also tweak model lighting using the indirectslightcale and
directlightscale settings.
Source: Infinity Ward Docs
