Call of Duty 4: Waving models (using flag shader)
Overview
To achieve this correctly you must be reasonably proficient with a 3d modeling program, e.g. maya, blender, the modeling program must also have an export plugin for cod4 available for the program. I am using Maya and the tut is written for that, but the technique will work for any modeling software.
[CoDEmanX: Note that Blender doesn't support alpha transparency for vertex colors so far, thus it's impossible
This tut will not tell you how to make models or export them.
You can quite easily make any Xmodel in cod4 wave around by simply using a custom material, the problem is that using a custom material on its own offers no control over the way the Xmodel waves and it will just wave around randomly. To control the strength of the distortion effect you assign vertex colors.
Preparing the model
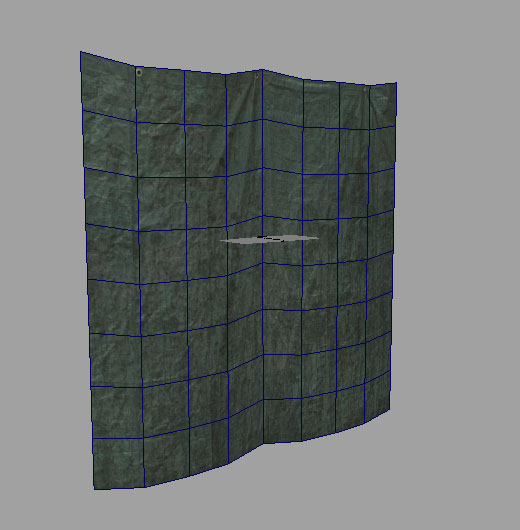
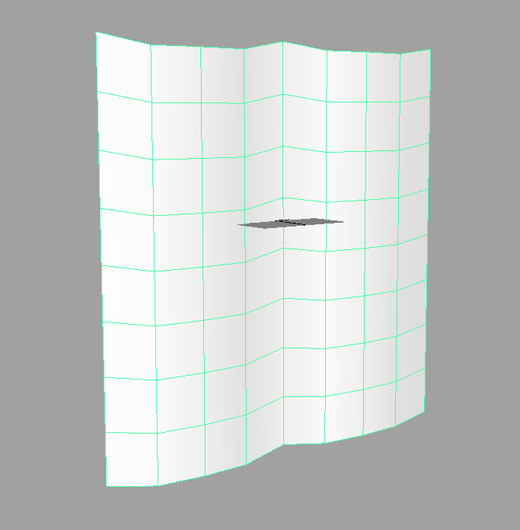
So first you need a model.
You may notice in the above model that it has a lot of what look like unnecessary subdivisions, the more vertices you have on the model the smoother the effect.
All cod 4 models must have vertex colors assigned usually they are always white, so assign your vetex color of white to the whole model to start with.
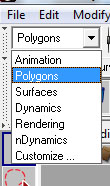
In maya make sure you are in polygons mode
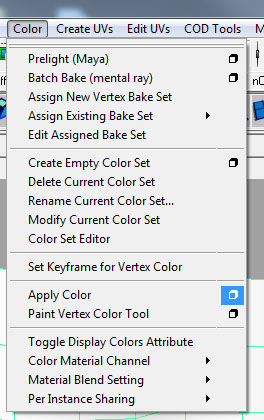
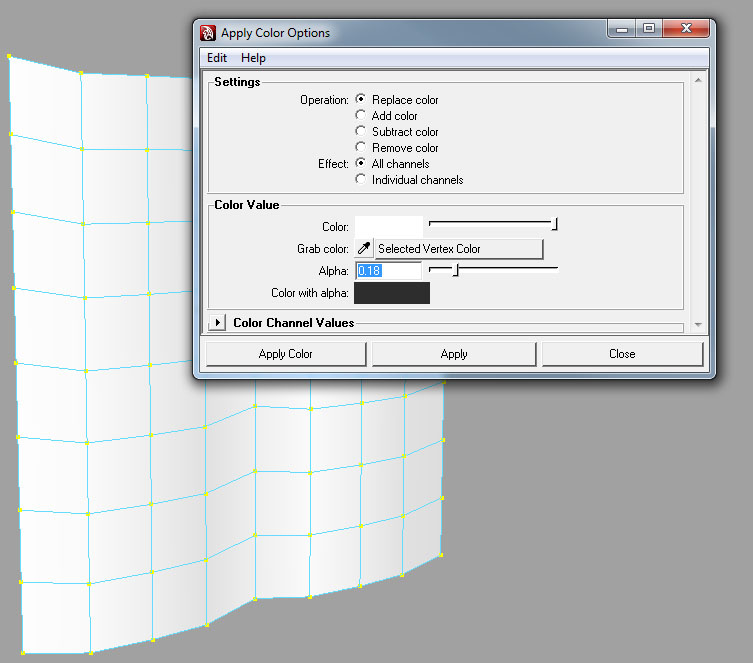
to assign the vertex color go to paint > apply color and click the box next to the text to bring up the apply color options dialogue.
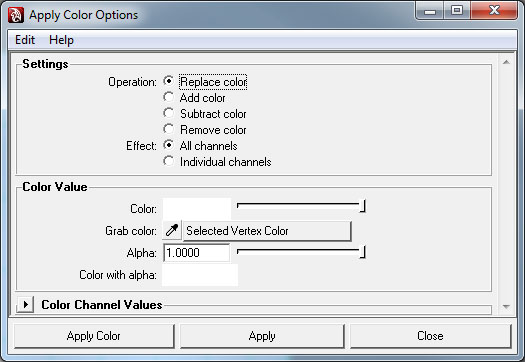
set the color value to white and hit apply color with the settings in the image below.
go to shading > smooth shaded all to see the color without the texture
If the model was left like this it would wave around with a uniform scale all over. this may be fine for some things but it is way to intense for a waving flag.
To scale down the amount of distortion you need to change the vertex color alpha of each vertex in the model.
Alpha color of black stops the vert from moving altogether, alpha color of white give the vertex its full range of movement. any shade of grey inbetween scales the movement of the vert.
In Maya Press F9 to swap to vertex select mode.
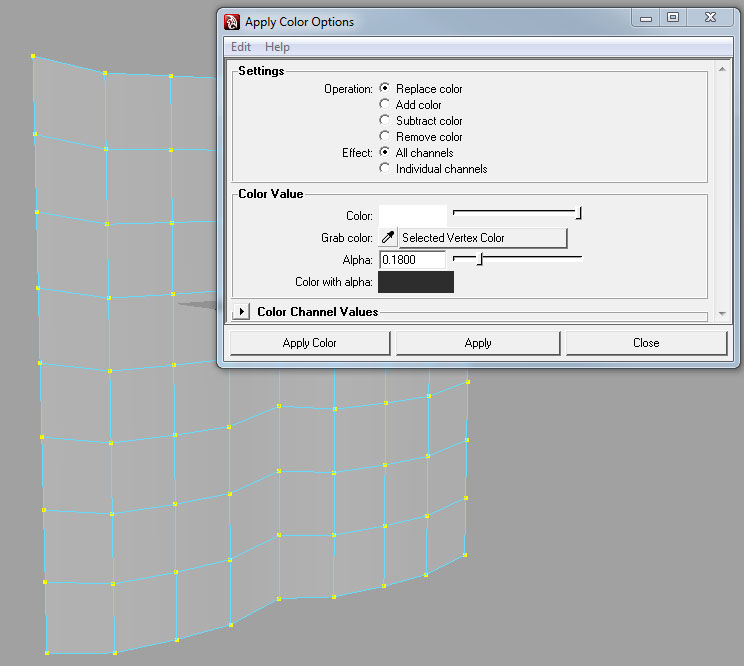
now you can select each individual vert or groups of verts and set the vert alpha color, for this model I wanted a more subtle movement so to start with I selected every vert and set the vertex alpha color to 0.18
when you click apply the models opacity will be reduced, this is fine.
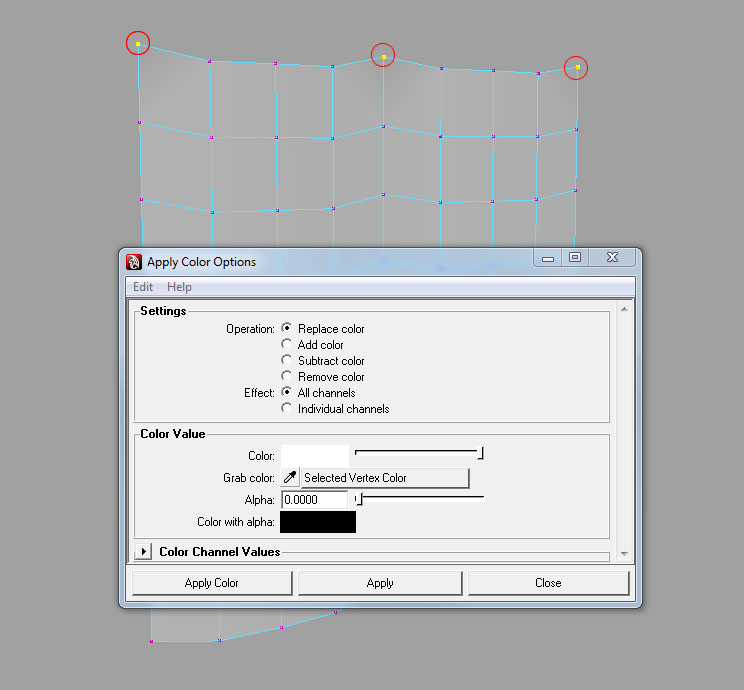
Now I needed to alter some individual verts to prevent there movement althogether this is where the sheet would be tied off to other geometry in the map. I selected the verts and reduced the alpha to 0 these vertices will be completely static.
you can carry on and change the vert alpha any way you like. to reduce on increase movement for the effect you want to achieve.
Once done just export the model to an xmodel_export file and its ready import with asset manager.
Asset Manager
Material
First create your new material.
open asset manager
Go to file Open and choose your levels.gdt (source_data\levels.gdt) [CoDEmanX: you may start with a blank new GDT and save it in source_data folder, no need to use a stock one]
create a new material
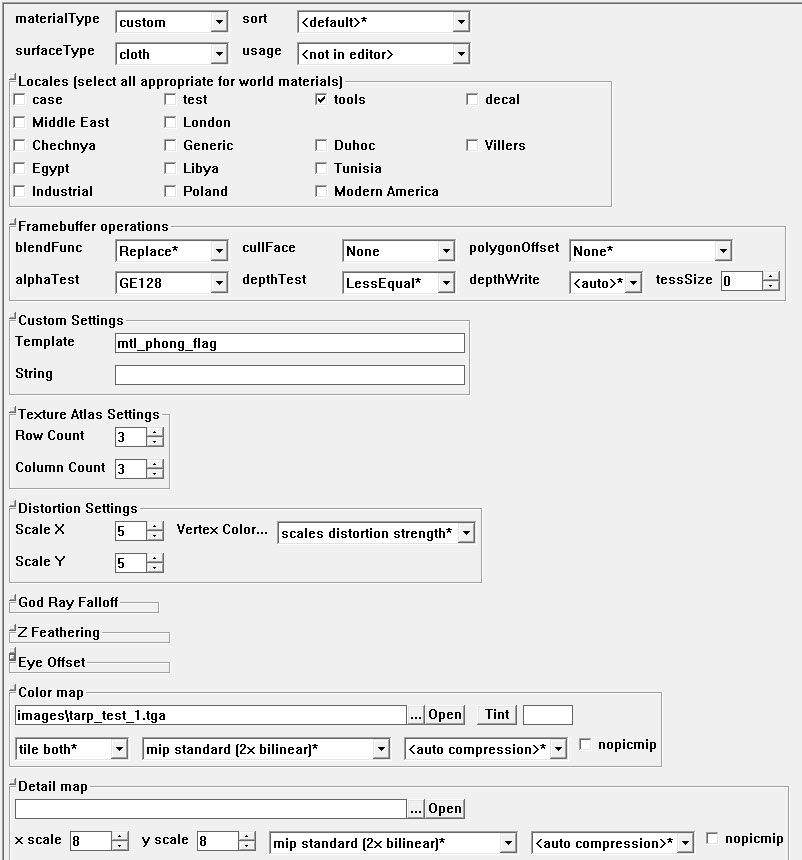
use these settings:
- Material type > must be custom
- surface type > set to match your surface
- alphatest > must be set to GE128 (even if your image has no alpha channel)
- cullface > None
- template > mtl_phong_flag
- vertex color > scales distortion stength
- color map > your models texture
if you have normal and or specular maps add them in the usual way.
save the gdt then hit f10 to convert the texture as normal.
XModel
now in asset manager create a new xmodel
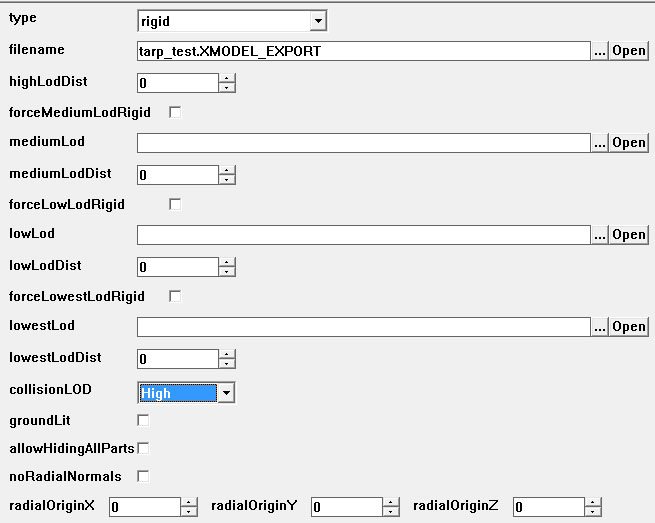
use these settings:
- type > rigid
- filename > your model
- collisionLOD high
save the gdt and hit f10 to convert the model.
Radiant
Drop the model in your map in the usual way, sometimes these models cause shadow problems so with the model selected hit N and bring up the entity window and check the No Static Shadows box.
The result can be seen here:
<videoflash>Mdymak_0_N0</videoflash>
From -]K6[-Grimm for Codutility.com
