Call of duty bo3: FreerunZ
Presentation
FreerunZ is a mod created to replicate the Blackops3 Freerun Gameplay Mode available in the Bonus section of the game. It is essentially a timed based Parkour style gametype where the player has to try and get from A to B in the fastest time. As the mod evolves we are hoping to bring new features like Enemy AI, Multiplayer races, Vehicles and more.
Getting the mod, demo map and source map
- You can get the FreerunZ mod HERE
- You can get the demo Map FreerunZ HERE
- You can get the source map NOT YET AVAIL
Note: You must own Call of Duty Blackops 3 to play this and have Multiplayer installed. Online & Offline mode possible
Freerun type map building
Whats needed?
For freerunZ to work you must create your Multiplayer map in a certain way, mostly the requirement elements are as follow:
- Start Trigger
- End Trigger
- Checkpoint Triggers (required for using Target shooting)
- Weapon Pickup (if using Target shooting)
- Reset Triggers (death > restart)
Optional Items include:
- Ammo pickup
- Perk Pickup
- Health pickup
As mentionned above you must a Multiplayer map as the base, Zombie mode isnt supported
All triggers used in the map making are Trigger_Multiple
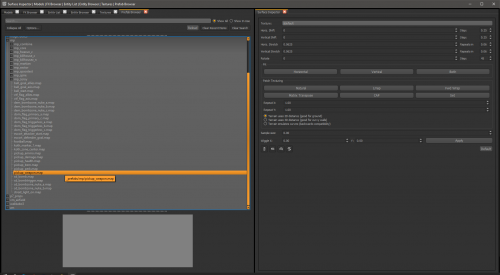
Also the pickup items prefabs can be found under the prefab browser, under MP:
Layout
In terms of layout you would build your map much like in the Official Maps, Start > Parkour > End. Multiple paths are possible also, so long as there are only one Start and End Triggers. Wall running can be used and so you can integrate that in your level (as seen on Example map provided).
Building the map
As with any other MP Map, you will need the entities present in the template, I therefore strongly suggest you start your level from the Template provided. You can always increase the volume sizes to match size of your map at a later stage.
Spawns
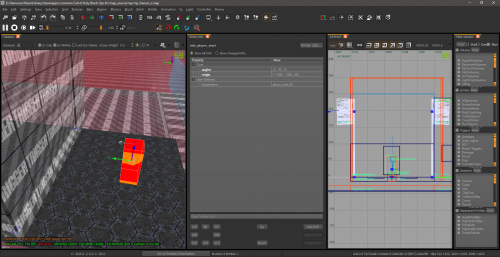
- FreerunZ uses 2 type of spawns, info_player_start and mp_dm_spawn. info_player_start is used as the very first spawn at start of the map while the mp_dm_spawn are used to respawn player on fall/fail or manual reset to checkpoint.
- In the template map you have you can delete all the spawn leaving only the info_player_start. This will be your start for the player on spawn. Add the following targetname for it: fr_start_00
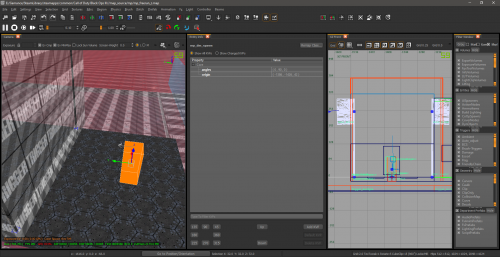
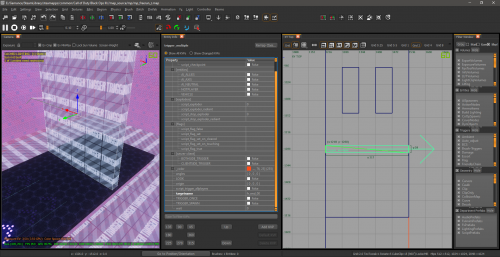
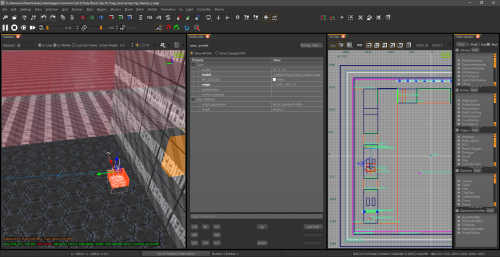
- Next you will need a mp_dm_spawn at the same location as the info_player_start, like so:
- Subsequent mp_dm_spawn will be required behind checkpoints of your choosing to avoid the player having to respawn each time at the start of the race
Start and End Triggers
- Only one of each, targetname are as follow:
Start trigger_multiple
targetname = fr_start_00
End trigger_multiple
targetname = fr_end_00
NOTE: Be sure to make the trigger big enough so that the player has no choice but to go through those.
Checkpoints and Reset Triggers
- Checkpoints are placed directly after difficult obstacles or Targets shooting walls since its the common place for players to fail, just drop a trigger_multiple and add the following:
targetname = fr_checkpoint
NOTE: you can have as many checkpoint as you like but remember that only those with a mp_dm_spawn right next to them will be used as respawn checkpoints
- Reset Triggers should cover any area that you consider a fail for the player, can be below the ground, in the air, on the sides. Just drag a trigger_multiple and add the following:
targetname = fr_die
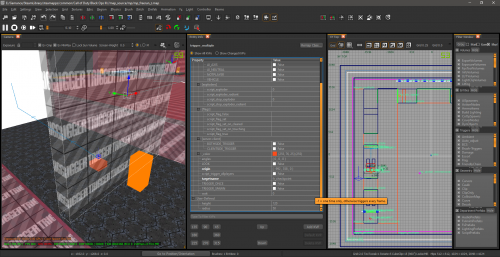
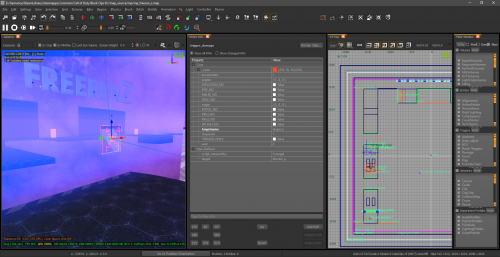
Placement example in demo map:
Shootable Targets
- This is the more complex part of the build, take your time and follow the instructions carefully or check the map source if unsure.
NOTE: when you copy / paste between map file Radiant will sometimes disconnect entities!!
- Start by placing a weapon pickup, and add the weapon you wish to spawn (list HERE) using the following added KVP:
script_parameters = weapon_name+attachment+camo
Example:
- You can now also add the first target to that weapon pickup prefab by adding another KVP:
target = target_a
Subsequent targets will be _b, _c, etc...
- Next you need to add the wall/blocker. This is done using a script_brushmodel (in entity browser), place, make it clip and structural, add texture of your choice; Then add the following:
targetname = blocker_a
- Next is a visual target which is what the player sees and aim / shoot at, again its a script_brushmodel and you can texture it as you please, then add the following KVPs:
target = blocker_a
targetname = target_a
script_noteworthy = fr_target_visual
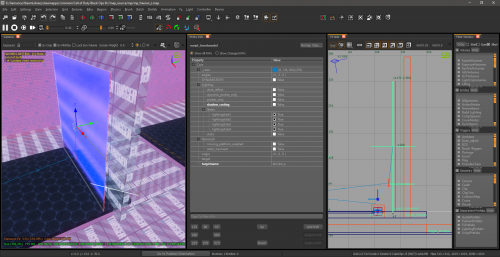
- Lastly you need a trigger_damage for the hit to register, drag and drop trigger_damage from Entity Browser, it must be the same size as the above visual brush; Add following KVPs to it:
target = blocker_a
targetname = target_a
script_noteworthy = fr_target
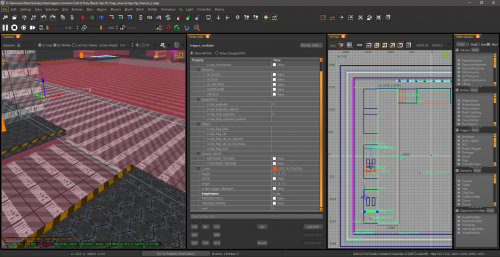
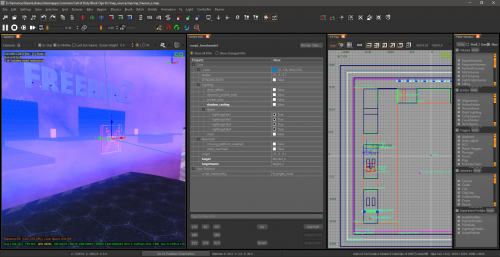
Showing both visual and target trigger:
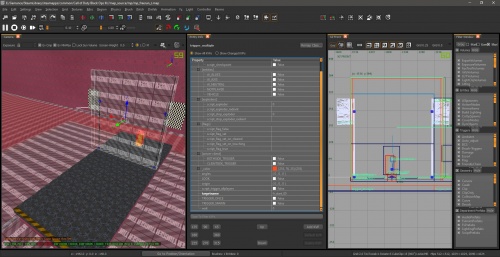
- A checkpoint trigger must be added immediately behind the blocker wall to remove the player's weapon, in the end you should end up with something like so:
Clips
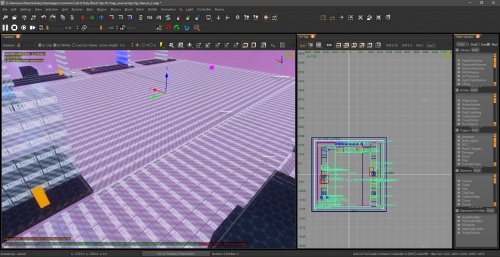
- It is important to clip the map as much is possible to prevent players from going places they arent suppose to, you can use the tool texture "clip" for this, as shown here:
