Call of Duty 4: Water

![]() In this tutorial we will explain how to create a simple pond with water sound when player is inside and moving.
In this tutorial we will explain how to create a simple pond with water sound when player is inside and moving.
The Basics
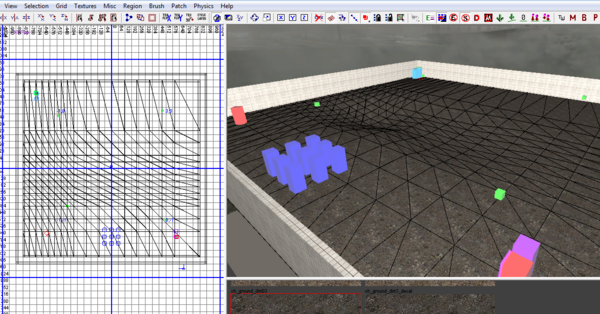
- For this example im simply using mp_test.map ; I removed the Heli model and replace the ground brush with a Curve Patch (15x15) ; I then used the Patch tool 'Y' to change the ground level;
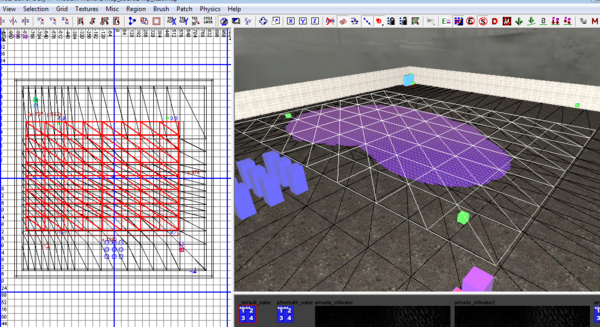
- After selecting a water texture (aftermath_water here) i create a Terrain Patch (8x8) and place it slightly under main ground level;
- Using the Texture tool 'S' I then strech the texture on X and Y quite a bit to remove the small riddles effect
![]() This step usually requires tweaking after test in-game;
This step usually requires tweaking after test in-game;
Water Sound/Effects
- To add water sound/effects its quite simple: Select the water patch just created above and clone it using spacebar.
 Make sure to re-align the patch as the clone function will move the patch 1 unit X and 1 unit Y.
Alpha Blend
 Note that not all water texture can be alpha blended!
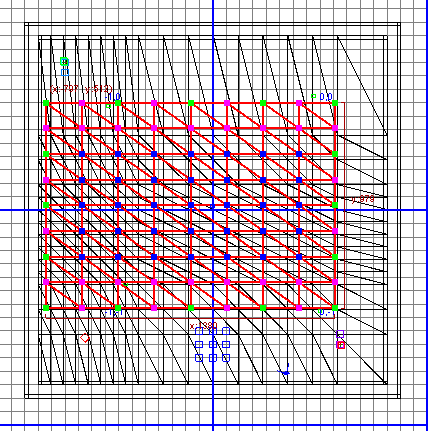
- For this part re-select the original water patch created and place the 2D view in the Z axis.
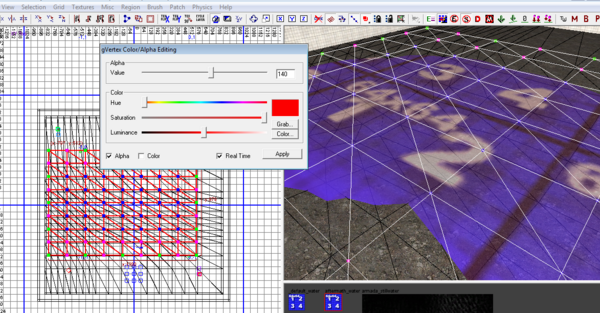
- Press 'V' on keyboard to bring up the vertices then using the mouse drag the middle points of the patch (this will be the area alpha-blended/transparent)
- Now press 'G' on keyboard to bring up the gVertex Editor, tick the 'alpha' option and select the amount of alpha required using the slider, look at the 3D window to see real-time results;
- When happy with results click Apply then de-select all and save!
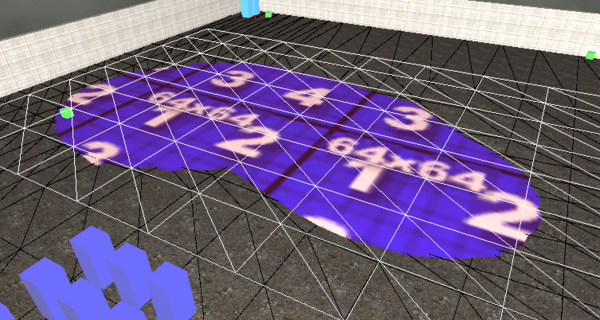
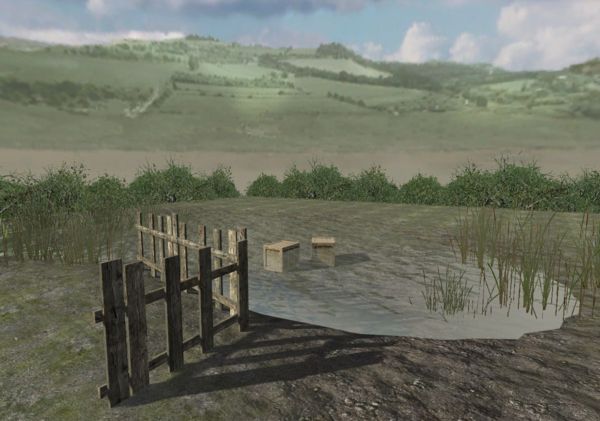
The result - Note you can see the Crate trough water now :)
Prefab
![]() You can download the map prefab used above HERE
You can download the map prefab used above HERE
--Zeroy. 22:24, 19 October 2008 (UTC)
