Call of Duty 5: Players Model: Difference between revisions
| Line 25: | Line 25: | ||
<font color="yellow">'''To use this file:'''</font> | <font color="yellow">'''To use this file:'''</font> | ||
You must create a IWD archive containing the new _teams.gsc and place in a mod folder; <br> | You must create a IWD archive containing the new _teams.gsc and place in a mod folder; <br> | ||
* Copy the _teams.gsc file into a folder structure like this: | * Copy the _teams.gsc file into a folder structure like this: | ||
Revision as of 16:19, 16 February 2009
![]() This article is to help you select the Player Models for your maps.
This article is to help you select the Player Models for your maps.
Player Model Teams
Like any other Call Of Duty Game, COD:WW uses the usual team split:
- Allies
- Axis
In Allies you have:
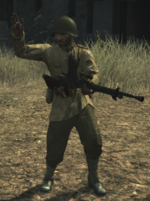
US Marines
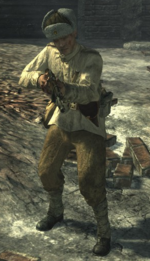
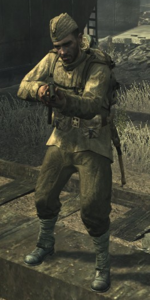
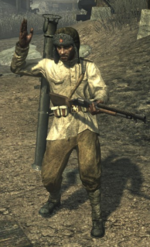
Russian Red Army
In Axis you have:
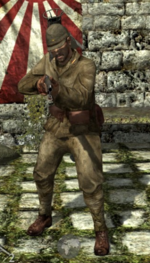
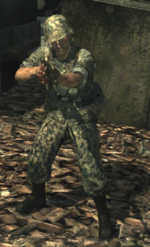
Japanese Imperial Army
German Wehrmacht
![]() Just as in COD4, with the SAS vs Spatsnez team problem, there is a problem with the default _teams.gsc file - it assumes that a custom map is listed in mapsTable.csv, and will default you to using Marines (Americans) and Japanese.
Just as in COD4, with the SAS vs Spatsnez team problem, there is a problem with the default _teams.gsc file - it assumes that a custom map is listed in mapsTable.csv, and will default you to using Marines (Americans) and Japanese.
You can download a "fixed" _teams.gsc file here:
To use this file:
You must create a IWD archive containing the new _teams.gsc and place in a mod folder;
- Copy the _teams.gsc file into a folder structure like this:
- Using Winrar or Winzip compress the folder images using ZIP default compression (no fancy options please!)
- Name the file like your map (say mp_yourmap.zip for this example)
- Rename the resulting file mp_yourmap.zip in mp_yourmap.iwd
- Copy this new IWD file under the mod folder in use in the correct place:
Xp:
C:\Documents and Settings\Username\Local Settings\Application Data\Activision\CoDWaW
Vista:
C:\Users\Username\AppData\Local Data\Activision\CoDWaW\
Player Model Classes
Again, as in COD4:MW, COD:WW is re-using the class system:
- Rifleman
- Light Gunner
- Heavy Gunner
- Close Assault
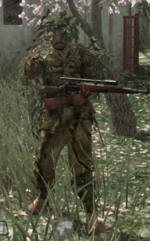
- Sniper
 For the modders, here are the Script Classes for each:
- Rifleman > ASSAULT
- Light Gunner > SPECOPS
- Heavy Gunner > SUPPORT
- Close Assault > RECON
- Sniper > SNIPER
MAP GSC Syntax
There are 4 combiantion possible for your MP Levels in regards to Player Models:
- US Marines vs.Japanese Imperial Army
	game["allies"] = "marines";
	game["axis"] = "japanese";
	game["attackers"] = "allies";
	game["defenders"] = "axis";
	game["allies_soldiertype"] = "pacific";
	game["axis_soldiertype"] = "pacific";
- Russian Red Army vs. German Wehrmacht
	game["allies"] = "russian";
	game["axis"] = "german";
	game["attackers"] = "axis";
	game["defenders"] = "allies";
	game["allies_soldiertype"] = "german";
	game["axis_soldiertype"] = "german";
- US Marines vs. German Wehrmacht
	game["allies"] = "marines";
	game["axis"] = "german";
	game["attackers"] = "axis";
	game["defenders"] = "allies";
	game["allies_soldiertype"] = "pacific";
	game["axis_soldiertype"] = "german";
- Russian Red Army vs. Japanese Imperial Army
	game["allies"] = "russian";
	game["axis"] = "japanese";
	game["attackers"] = "allies";
	game["defenders"] = "axis";
	game["allies_soldiertype"] = "german";
	game["axis_soldiertype"] = "pacific";
![]() Note that the last 2 examples aren't historically correct in terms of the Uniforms or Events.
Note that the last 2 examples aren't historically correct in terms of the Uniforms or Events.
In your Map GSC simply place the relevant section from your choice.
Compiling Player Model Factions/SoldierTypes
To get the right models compiled into your map, just as in COD4, you use an #include, and reference a relevant .CSV file for that faction:
include,mptypes_german
This is for both German (Wehrmacht) and Russians, as the Russians are actually classed as a "german" soldiertype
include,mptypes_pacific
This is for both the Marines (American) and Imperial Army (Japanese)
Place these includes in your map's zone .CSV file, just as you did for COD4
Treyarch didnt't include the mptypes CSV files with the RAW dump, so I created them for you to download:
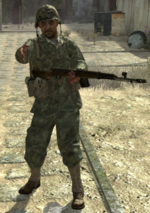
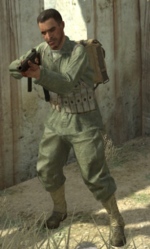
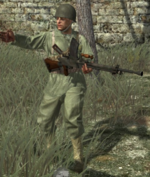
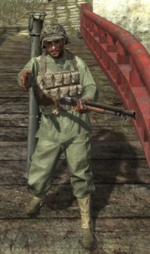
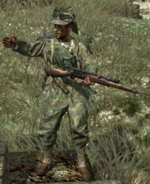
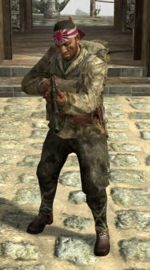
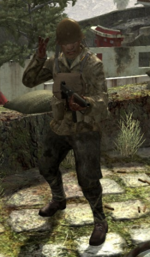
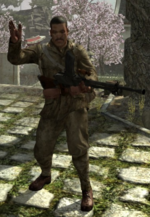
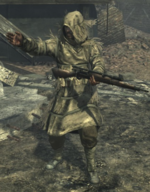
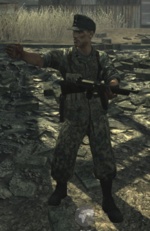
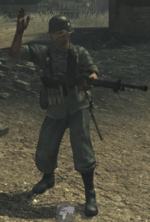
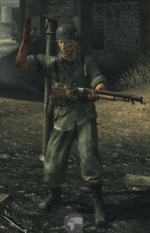
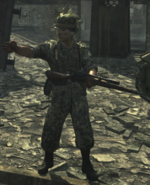
Player Models Pictures
The order is always as follow:
Rifleman
Light Gunner
Heavy Gunner
Close Assault
Sniper
US Marines
Japanese Imperial Army
Russian Red Army
German Wehrmacht
--Zeroy. 20:37, 10 November 2008 (UTC)

