Call of Duty 4: Decals: Difference between revisions
No edit summary |
No edit summary |
||
| Line 8: | Line 8: | ||
[[Image:warning.png]] There are several techniques to add decals in a map, this is only one of them! | [[Image:warning.png]] There are several techniques to add decals in a map, this is only one of them! | ||
---- | |||
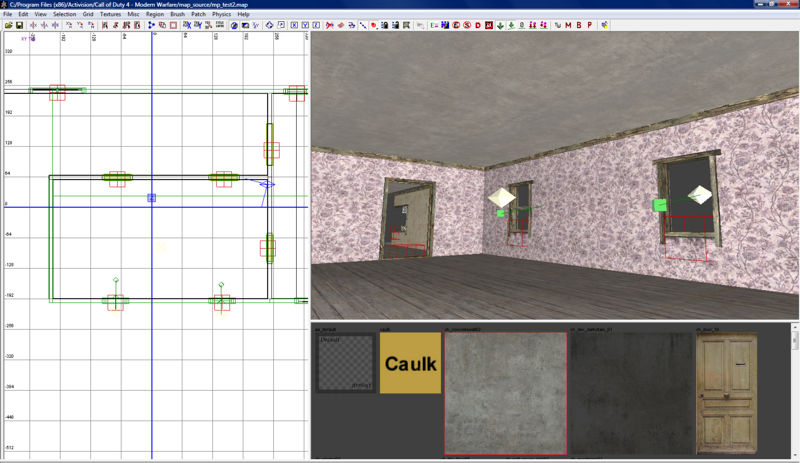
Lets start by creating a simple room. Here I have one with two windows and an internal light source, which can be altered later. | Lets start by creating a simple room. Here I have one with two windows and an internal light source, which can be altered later. | ||
| Line 19: | Line 21: | ||
[[Image:shot0001.jpg|800px]] | [[Image:shot0001.jpg|800px]] | ||
---- | |||
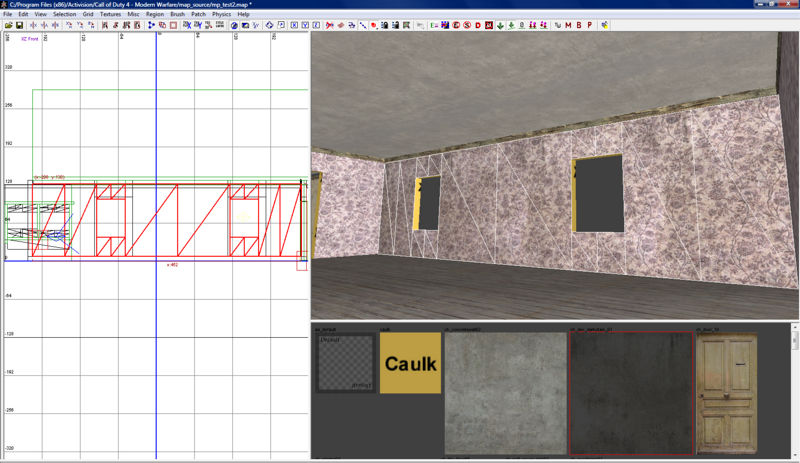
Lets start by creating a "Terrain Patch" to cover the entire wall. | |||
Once thats done apply the "'''ch_dec_darkstain_01'''" to it. | |||
[[Image:decal2.jpg|800px]] | |||
---- | |||
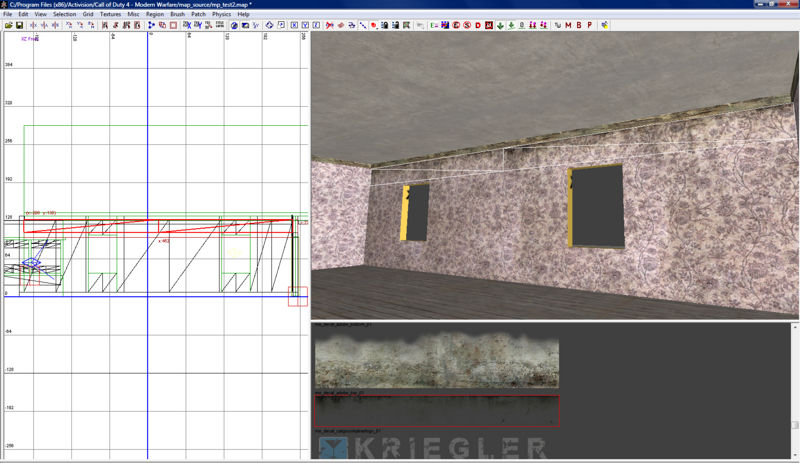
Create another "Terrain patch" but this time place it at the top of the wall, taking care not to cover your windows or doors. | |||
Once thats done apply the texture "'''me_decal_adobe_top_01'''" to it. | |||
[[Image:decal3.jpg|800px]] | |||
---- | |||
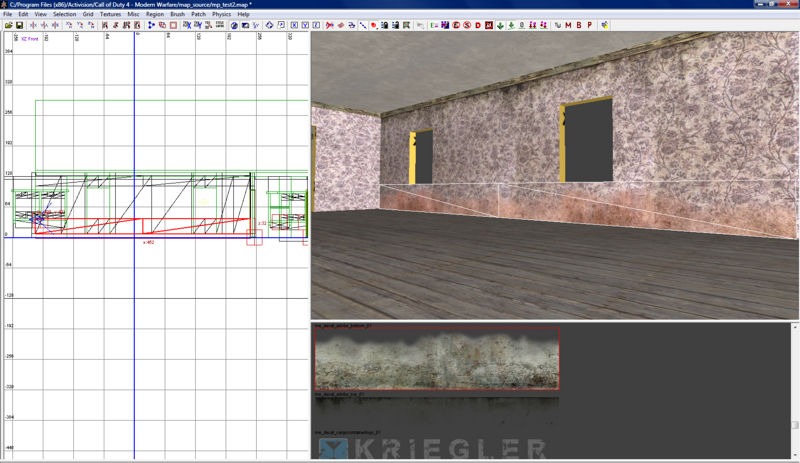
We now need to create another "Terrain Patch" but this time place it at the bottom of your wall and use the "'''me_decal_adobe_bottom_01'''" texture. | |||
[[Image:decal4.jpg|800px]] | |||
---- | |||
As you can see the wall is looking pretty good although the ceiling / floor now stands out. | |||
[[Image:paulo2.jpg|800px]] | |||
Revision as of 23:19, 18 October 2008
![]() This tutorial will explain in detail how to add Decals to your maps. In this tutorial I will show you how decals can give a room a much more realistic feel to them.
This tutorial will explain in detail how to add Decals to your maps. In this tutorial I will show you how decals can give a room a much more realistic feel to them.
 There are several techniques to add decals in a map, this is only one of them!
Lets start by creating a simple room. Here I have one with two windows and an internal light source, which can be altered later.
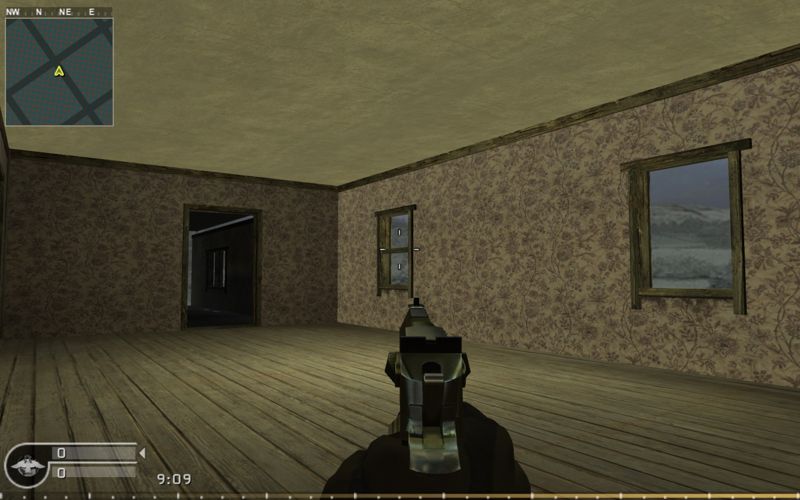
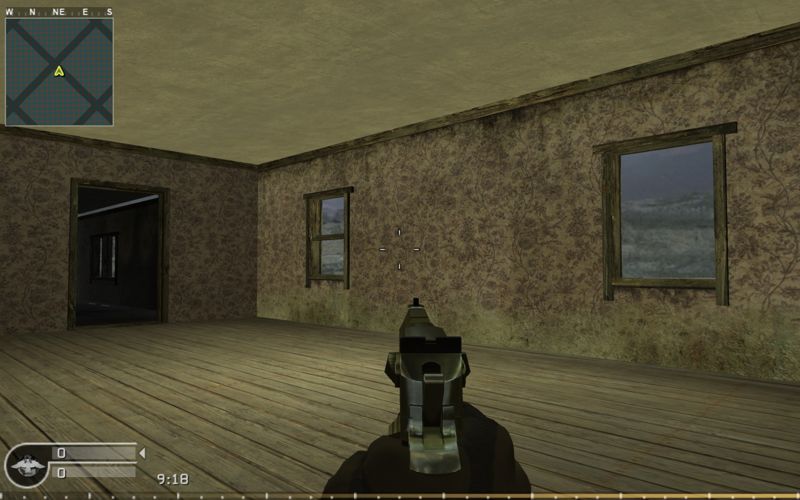
Now here is how the room looks ingame.
As you can see its not very realistic nor is it very detailed.
Lets start by creating a "Terrain Patch" to cover the entire wall.
Once thats done apply the "ch_dec_darkstain_01" to it.
Create another "Terrain patch" but this time place it at the top of the wall, taking care not to cover your windows or doors.
Once thats done apply the texture "me_decal_adobe_top_01" to it.
We now need to create another "Terrain Patch" but this time place it at the bottom of your wall and use the "me_decal_adobe_bottom_01" texture.
As you can see the wall is looking pretty good although the ceiling / floor now stands out.
