Call of duty bo3: ZM Exploders: Difference between revisions
Jump to navigation
Jump to search
Created page with "== Intro == Exploders are a way to switch on/off a Light or FX placed in a map via script == In Radiant == * '''For a light or FX the method is the same''', place the light..." |
|||
| (2 intermediate revisions by the same user not shown) | |||
| Line 12: | Line 12: | ||
* This will open this window | * This will open this window | ||
[[File:exploder_2.jpg]] | [[File:exploder_2.jpg|800px]] | ||
* Select the light you created and in the Exploder Manager click on "New Exploder from Selected" | * Select the light you created and in the Exploder Manager click on "New Exploder from Selected" | ||
| Line 21: | Line 21: | ||
* Now the light and Exploder Manager looks like this | * Now the light and Exploder Manager looks like this | ||
[[File:exploder_4.jpg]] | [[File:exploder_4.jpg|800px]] | ||
Note 1: that the Default State is False = ON which means that the Exploder will start OFF and switch ON when called via script. | Note 1: that the Default State is False = ON which means that the Exploder will start OFF and switch ON when called via script. | ||
| Line 28: | Line 28: | ||
Note 3: You can have more than one Exploder using the same Exploder name, these will all be switched on/off from script | Note 3: You can have more than one Exploder using the same Exploder name, these will all be switched on/off from script | ||
* You can test the exploder using the PLAY/STOP button after selecting it in the Exploder Manager | |||
* Save your map | * Save your map | ||
Latest revision as of 18:28, 25 April 2018
Intro
Exploders are a way to switch on/off a Light or FX placed in a map via script
In Radiant
- For a light or FX the method is the same, place the light or FX and set its values as you normally would
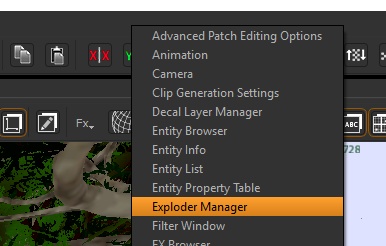
- Open up the Exploder Manager in Radiant by Right clicking the main tool bar and selecting "Exploder Manager"
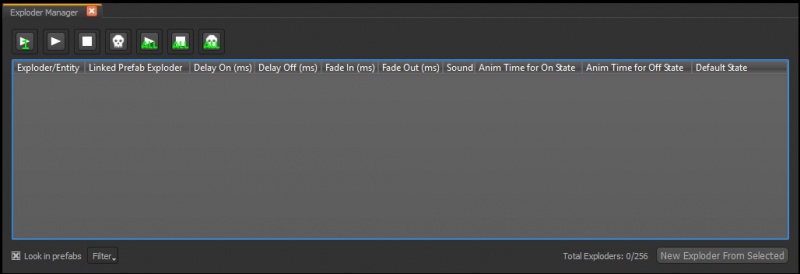
- This will open this window
- Select the light you created and in the Exploder Manager click on "New Exploder from Selected"
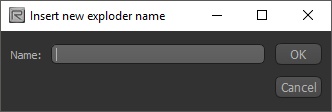
- You will see a dialog to pick a name for the Exploder, this is IMPORTANT as its the name you will use in the scripting part; In this example we name it "light_test"
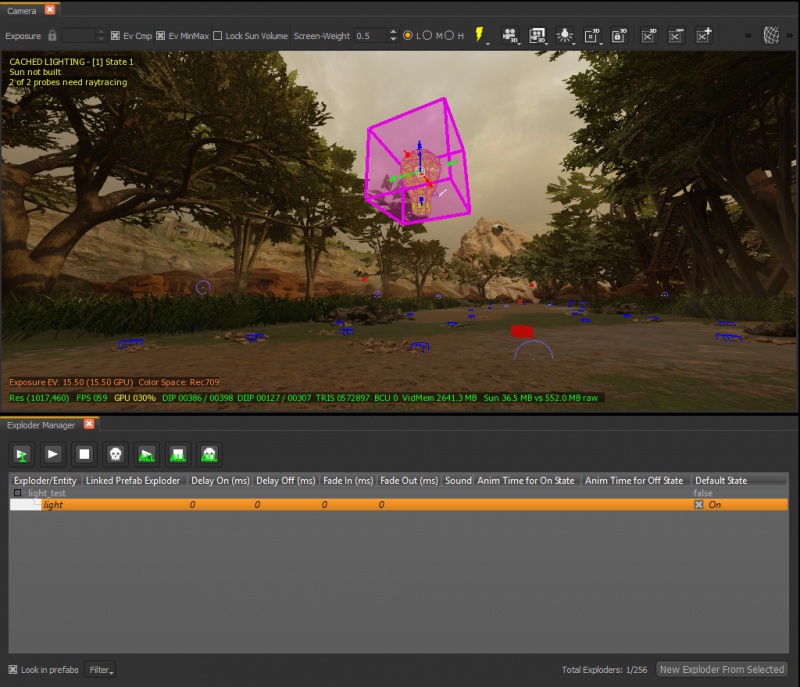
- Now the light and Exploder Manager looks like this
Note 1: that the Default State is False = ON which means that the Exploder will start OFF and switch ON when called via script.
Note 2: there are a number of other settings in the Exploder Manager such as delay, blend, etc. you may want to play with those to see how they work
Note 3: You can have more than one Exploder using the same Exploder name, these will all be switched on/off from script
- You can test the exploder using the PLAY/STOP button after selecting it in the Exploder Manager
- Save your map
In Script
- Open your Map GSC located in Call of Duty Black Ops III\usermaps\zm_test\scripts\zm\
- The next part will depend on what you want to achieve with the Exploder
Advanced
If you are familiar with scripts and want to switch the light on after a certain scripted event that you know how to locate then just use this command:
// Exploder ON
exploder::exploder( "light_test" );
- If you need to turn it off then use this:
// Exploder OFF
exploder::kill_exploder( "light_test" );
Turn on Exploder after Power ON
If you want to turn on your exploder(s) after the Power is switched on:
- Open your Map GSC and locate
zm_usermap::main();
- After this add this new function
level thread exploder_watch();
- on the end of your script add the new Function
function exploder_watch()
{
    level endon ("game_ended");

    level waittill("power_on");

    // Exploder ON
    exploder::exploder( "light_test" );
}


