Call of Duty 4: Advanced Lighting: Difference between revisions
No edit summary |
mNo edit summary |
||
| (2 intermediate revisions by the same user not shown) | |||
| Line 4: | Line 4: | ||
[[Category:Advanced Editing]] | [[Category:Advanced Editing]] | ||
[[Category:Lighting]] | [[Category:Lighting]] | ||
[[Image:rgn_warning.png|right]] | |||
=== Local Lights === | === Local Lights === | ||
Local lights are mostly used for light sources such as lamps, candles, and artificial lights. They can also be used for adding to an area that needs more diffuse or bounced light, or for a dramatic shadow effect. | Local lights are mostly used for light sources such as lamps, candles, and artificial lights. They can also be used for adding to an area that needs more diffuse or bounced light, or for a dramatic shadow effect. | ||
| Line 19: | Line 18: | ||
Def examples: | '''Def examples:''' | ||
light_point_linear: basic linear falloff curve | *<font color="yellow">light_point_linear:</font> basic linear falloff curve | ||
| Line 28: | Line 27: | ||
light_point_quadratic: hotspot is closer to center | *<font color="yellow">light_point_quadratic:</font> hotspot is closer to center | ||
| Line 34: | Line 33: | ||
light_point_linear_nocenter: basic linear falloff without lumination at the center. Use this for situations that require an object to cast a shadow but not be illuminated by placing the light near the said object. | *<font color="yellow">light_point_linear_nocenter:</font> basic linear falloff without lumination at the center. Use this for situations that require an object to cast a shadow but not be illuminated by placing the light near the said object. | ||
| Line 40: | Line 39: | ||
tunsten_lamp: Used to simulate standard bulb type lights. | *<font color="yellow">tunsten_lamp:</font> Used to simulate standard bulb type lights. | ||
| Line 55: | Line 54: | ||
Spotlight Examples: | Spotlight Examples: | ||
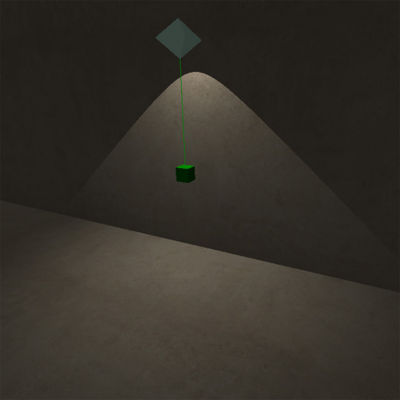
exponent 0 fov outer 100 | *<font color="yellow">exponent 0 fov outer 100</font> | ||
| Line 61: | Line 60: | ||
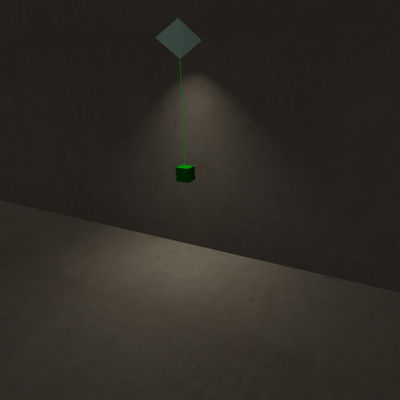
exponent 1 fov outer 100 | *<font color="yellow">exponent 1 fov outer 100 </font> | ||
| Line 67: | Line 66: | ||
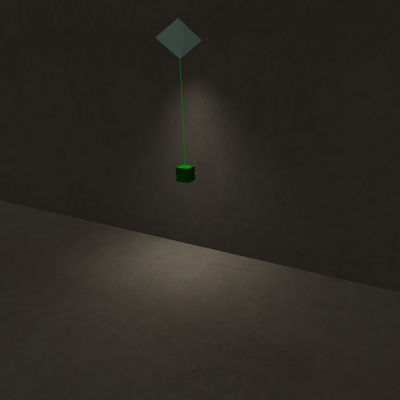
exponent 2 fov outer 100 | *<font color="yellow">exponent 2 fov outer 100 </font> | ||
| Line 73: | Line 72: | ||
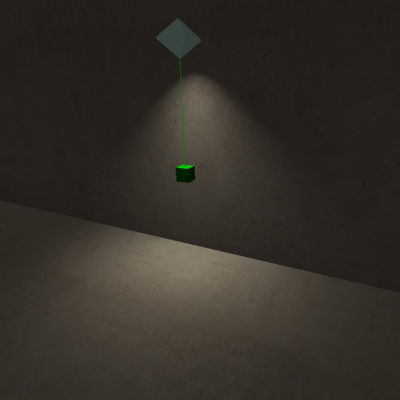
exponent 1 fov outer 100 fov inner 60 | *<font color="yellow">exponent 1 fov outer 100 fov inner 60</font> | ||
Latest revision as of 09:22, 26 November 2008
Local Lights
Local lights are mostly used for light sources such as lamps, candles, and artificial lights. They can also be used for adding to an area that needs more diffuse or bounced light, or for a dramatic shadow effect.
Point lights
![]() To create a point light, right click in the 2d view and choose light.
To create a point light, right click in the 2d view and choose light.
- Point lights use the following variables.
Color # # #: The color of the light. Radius #: The range the light can illuminate within. Def(def preset: The falloff definition of the light. This variable uses a one pixel high texture to set the type of falloff you want. You can find existing def setting on the light.gdt file in texture assets or you can make a custom falloff type by making a new texture and adding it to the lights.gdt file yourself
Def examples:
- light_point_linear: basic linear falloff curve
- light_point_quadratic: hotspot is closer to center
- light_point_linear_nocenter: basic linear falloff without lumination at the center. Use this for situations that require an object to cast a shadow but not be illuminated by placing the light near the said object.
- tunsten_lamp: Used to simulate standard bulb type lights.
Spot lights
![]() To create a spot light, make a point light and a null object(by right clicking in the 2d view and selecting info/null) and then press W to connect the light to the null.
To create a spot light, make a point light and a null object(by right clicking in the 2d view and selecting info/null) and then press W to connect the light to the null.
Spot lights use all of the point light variable as well as the following.
Exponent #: The transition between the fov variables. This variable is an integer. Higher numbers will result in a smoother look. Without setting an exponent, the Fov_inner will have no effect on the light. Fov_inner #: The tightness of the hot spot. Fov_outer #: The angle of the spot light cone. Spotlight Examples:
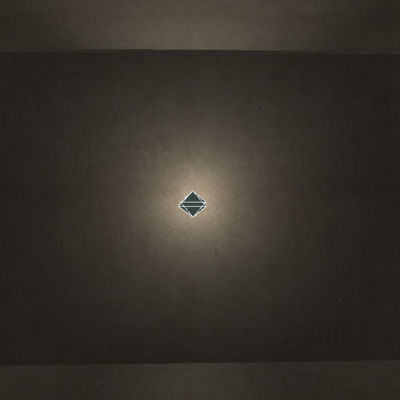
- exponent 0 fov outer 100
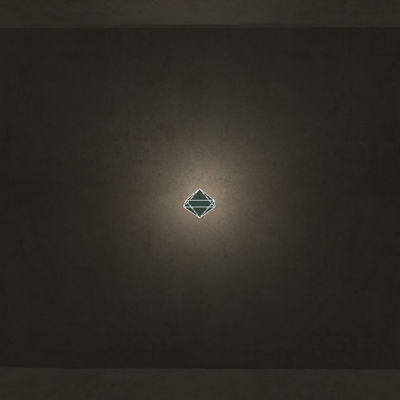
- exponent 1 fov outer 100
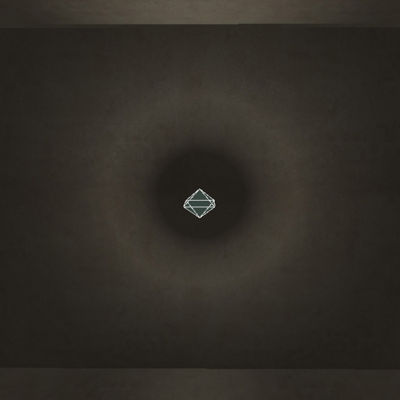
- exponent 2 fov outer 100
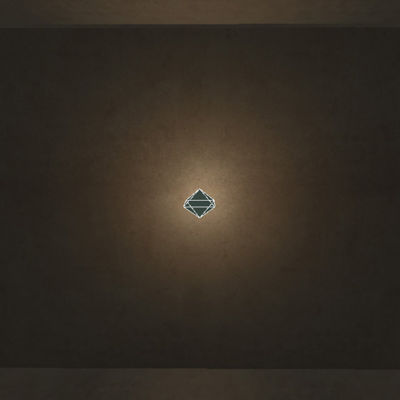
- exponent 1 fov outer 100 fov inner 60
Direct Light
- Sunlight
![]() Sunlight is considered a “Direct” light. What this means is that Specular and Normal Maps on models and world materials are effected by this light. In other words, this is a real time dynamic light that casts shadows and can change over time through script.
Sunlight is considered a “Direct” light. What this means is that Specular and Normal Maps on models and world materials are effected by this light. In other words, this is a real time dynamic light that casts shadows and can change over time through script.
The sunlight is an infinite parallel light. This means that it does not emanate from a single point in space.
This is the simplest, easy to use, of all the light types in COD4.
You must enter a direction, color, and sunlight value for the sun to turn on.
Note: You can disable the sun as a primary light if needed by entering "sunIsPrimaryLight" "0" into the world spawn.
- SunDirection
This works exactly the same as COD2
![]() The axis is based on world space, not local to the light.
The first number is the north south axis. The second number is the up down axis. The third number is the axis that is along the direction of the light and has no effect (Why is it there?...Who knows.).
The axis is based on world space, not local to the light.
The first number is the north south axis. The second number is the up down axis. The third number is the axis that is along the direction of the light and has no effect (Why is it there?...Who knows.).
Here are some examples looking top down in radiant:
“sundirection” “0 0 0” --- Light comes from the right
“sundirection” “90 0 0” ---Light comes from the bottom
“sundirection” “-90 0 0” --- Light comes from the top
“sundirection” “0 90 0” --- Light comes from the top
“sundirection” “0 180 0” --- Light comes from the left
- Sun Color/Sunlight (Brightness)
“suncolor” “# # #” uses three numbers to set the color. They represent RGB. Instead of using a 0-255 format, radiant uses a 0-1 format. To convert a value in the 0-255 range to the 0-1 range, divide the number by 255.
Example:
128/255 = .5 (roughly)
“sunlight” “#” Is how bright the sun is. You can use values over one if needed.
 Note: By hitting f8 you can activate the light preview in radiant.
You need all setting for sun and ambient light for this to work.
Indirect Light
Indirect light is anything that is not in direct sunlight. Bump and spec values are about 30% intensity.
- Shadows and Shade
ambient #: This is the amount of ambient light added to the scene. I usually use ambient to set what I want the darkest dark to be. If you go too high the map tends to look flat.
_color # # #: This is the ambient color value.(Isnt it obvious?) Use the same method for _color as for the suncolor to get the ambient color. This value also mixes with the sun color.
diffusefraction #: This is the brightness of the indirect light source. If you use a value of 1, sunlight is not visible.
sundiffusecolor # # #: THis is the color of the indirect light source..
bouncefracion #: This is the intensity of the GI calculation. Higher numbers result in flatter shading where light is present.
Practical Example
By Amishthunder
- First create your light.
- Right click on the grid -> light
Check out the Preview options. Lets look at the most used items:
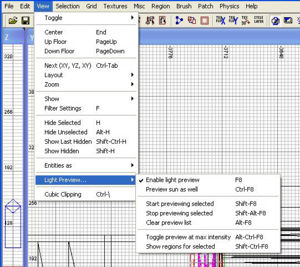
View -> Light Preview Enable Light Preview - Enable if you want the preview when selecting lights. Preview sun as well - Enables worldspawn settings to be rendered when light preview is active. Toggle preview at max intensity - Turn on/off light falloff.
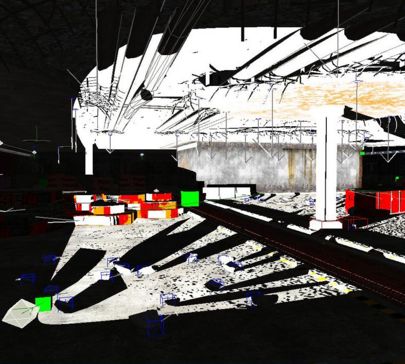
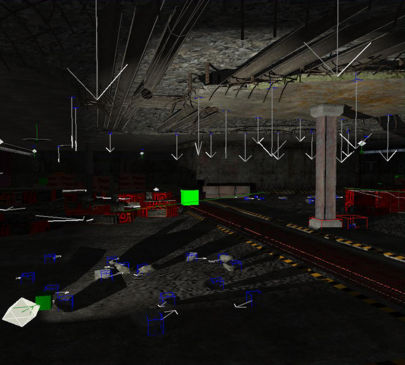
 You may only have one active primary light on a surface, that is why "preview at max intensity" is useful.
All primary lights need a null entity attached like a spotlight, this is for shadows.
![]() A Primary light is a dynamic light, it will cast shadow of all objects and reflect off surfaces in relation to the player. It is also a higher quality light than a non-primary.
A Primary light is a dynamic light, it will cast shadow of all objects and reflect off surfaces in relation to the player. It is also a higher quality light than a non-primary.
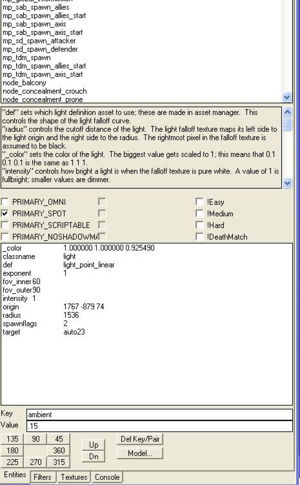
Primary_omni       - Regular light, 360 degree.
Primary_spot       - Same as omni but a spot light, discussed below.
Primary_scriptable - Yes, lights can now be scripted.
Primary_noshadow   - The light will not cast any shadows.
_color              - press "k" to select your color for the light. Value is x/255 RGB.
def                 - Can be any of the following or anything you create in asset manager;
- Candle,
- Florescent,
- Light_dynamic,
- Light_no_falloff,
- Light_point_dark_edges,
- Light_point_linear,
- Light_linear_point_nocenter,
- Light_point_quadratic,
- Red_light,
- Tungsten_lamp.
exponent              - amount of falloff at edges.
fov_inner & fov_outer - range in degrees of light (spot)
radius                - how large the light is in units.
Now to use the light preview you must select a light that has already been placed in your map. Once selected your 3D preview should change.
For a projected light you will want to make a spot light, this is easy enough to create:
- Make your light entity with the desired values.
- Create a null object in front of the light.
- Right click on the grid -> info -> null
- The null doesn't need any values.
- Now connect the two objects, your light and null.
- Select your light.
- Select your null while your light is selected.
- Press "w" to connect, it must be done in this order.
- You will know it has been successful when your light preview shows a more targeted light.
- You may move the light and null individually to get your desired light.
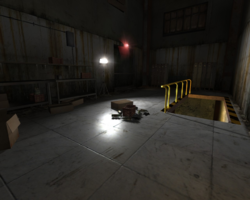
These two pictures are primary spot lights with max intensity on and off to show the dramatic diffrence, the entity editor displays this light's values:
