Call of Duty 5: Adding Decals: Difference between revisions
Jump to navigation
Jump to search
mNo edit summary |
mNo edit summary |
||
| Line 46: | Line 46: | ||
[[Image:decals_6b. | [[Image:decals_6b.jpg|500px]] | ||
Latest revision as of 15:54, 24 November 2008

![]() This tutorial will explain in detail how to add Decals for your maps. By decals this tutorial refers to posters, signs or even stains/Dirt on wall, ground,etc...
This tutorial will explain in detail how to add Decals for your maps. By decals this tutorial refers to posters, signs or even stains/Dirt on wall, ground,etc...
 There are several techniques to add decals in a map, this is only one of them!
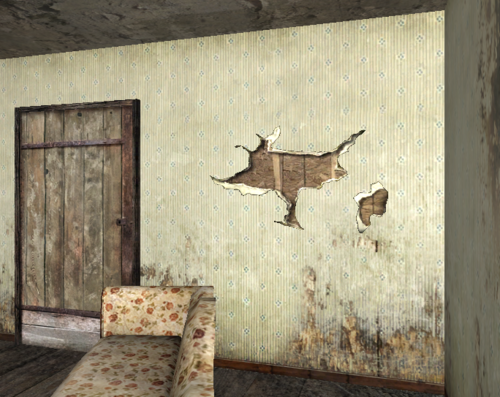
- First you need to decide where to place the decal. The example below will show how to obtain this:
- Once you know where the decal will do, place the 3D view camera so that you can see what you are doing, the wall is my location in this example.
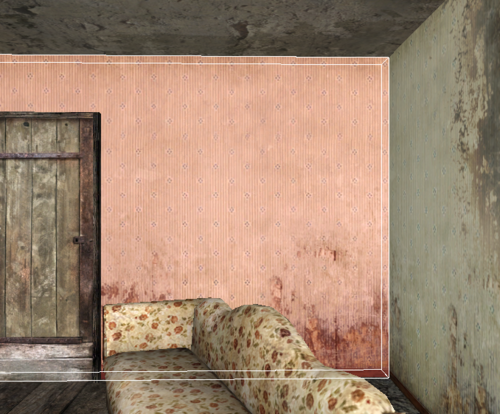
- Using SHIFT+Left-Click, select the wall brush then deslected it again.
 Doing this facilitate the next step by basically keeping the wall dimensions in memory
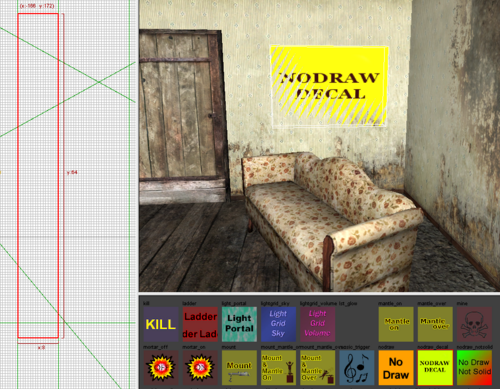
- In the texture Window scroll all textures to find 'NoDraw_Decal'

- Now, go in X or Y (which ever suit best) in your 2D view (using this button on top bar:
 ) and drag the left click where the wall is, you will see a brush forming on the 3D Window.
 - Thanks to the previous selection of the wall brush the thickness of this new brush fits the wall perfectly, make it the size you like (considering the Poster texture ratio as well):
- Deselect all (Esc)
- Go in the textures window again to pick the selected pattern/poster/sign.
- Using Ctrl+SHIFT+Left-click select the face of the new brush to apply poster too.
- Click on the desired texture to transfer it to selected face.
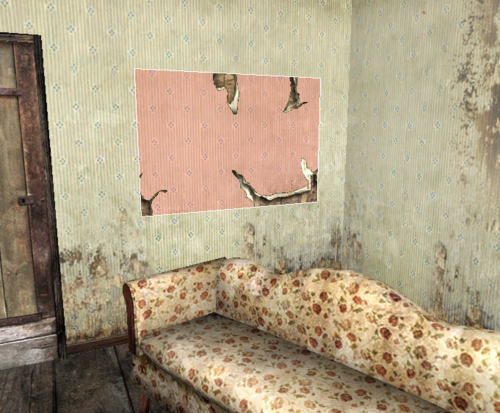
- Almost finished! You can see that the texture is now too big for the created brush ... To fix, press simultaneously Ctrl+F, this will adjust the Texture selected to the Brush!
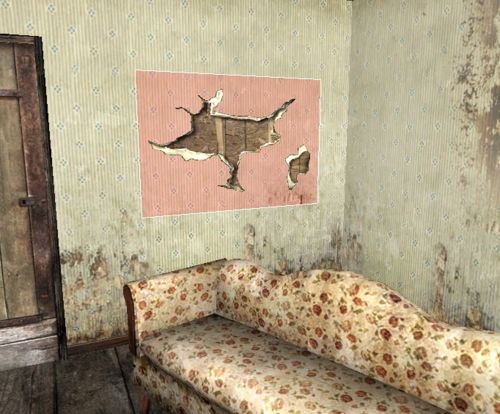
 If you want you can now select the brush and move it on the wall making sure it stay on the edge of it
- it will dissapear if you go 'inside the wall anyway)
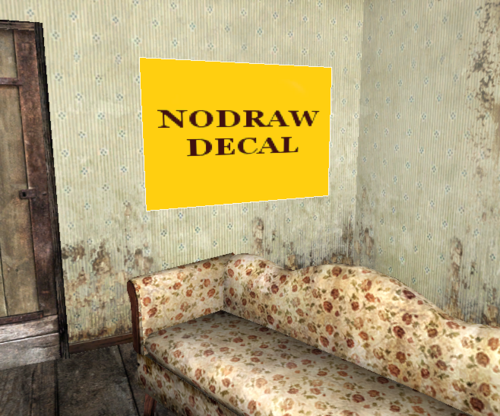
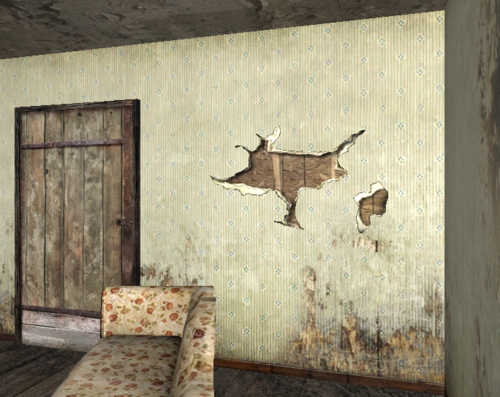
Finish result:
--Zeroy. 15:48, 24 November 2008 (UTC)
