Call of Duty 4: First Room: Difference between revisions
No edit summary |
|||
| (5 intermediate revisions by 2 users not shown) | |||
| Line 1: | Line 1: | ||
[[Category:Call of Duty 4]] | |||
[[Category:Modtools]] | |||
[[Category:Radiant]] | |||
[[Category:Basic Editing]] | |||
[[Image:Noobs.png|200px|right]] | |||
''Tutorial by J. Porter'' | ''Tutorial by J. Porter'' | ||
| Line 85: | Line 90: | ||
Using the [[Gameplay standards]] I will size the bottom brush to be 32 units from the floor. Inside diameter of the window will be 46 units wide 72 units high. | Using the [[Call of Duty 4: Gameplay standards|Gameplay standards]] I will size the bottom brush to be 32 units from the floor. Inside diameter of the window will be 46 units wide 72 units high. | ||
[[Image:jroom_15.jpg]] | [[Image:jroom_15.jpg]] | ||
Latest revision as of 17:42, 18 October 2008

Tutorial by J. Porter
Making a room
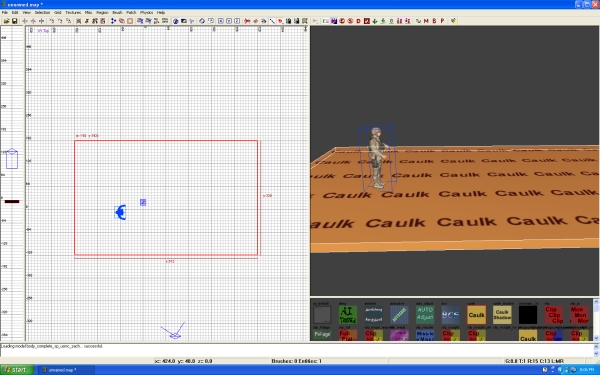
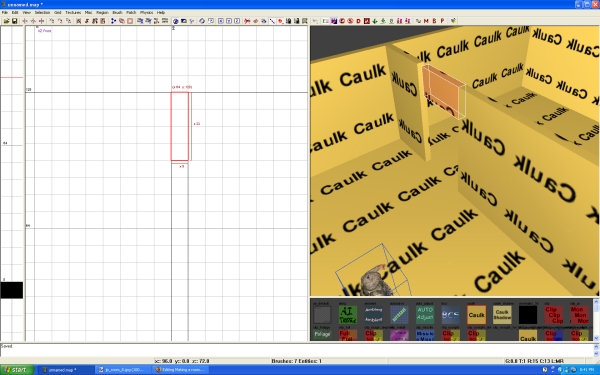
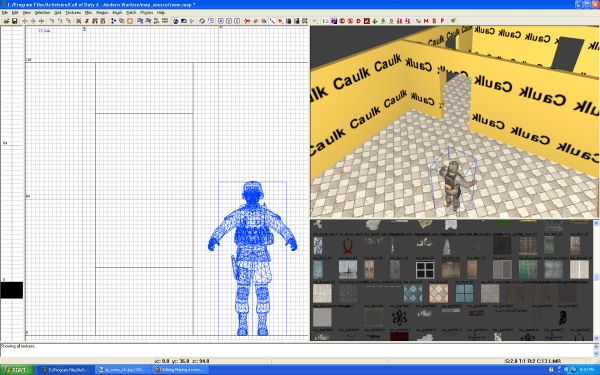
First I am going to start building using the Caulk texture. 
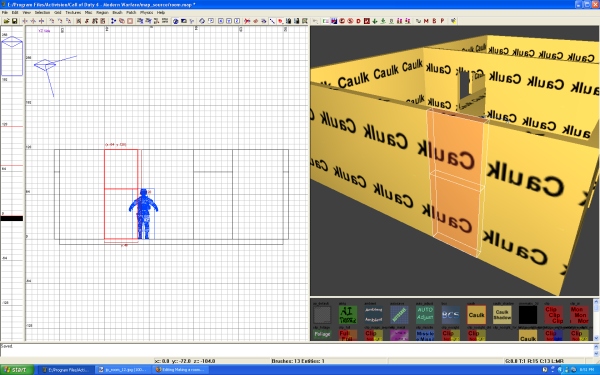
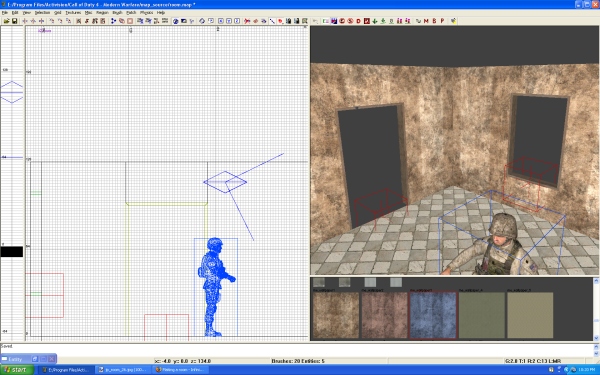
I am going to place a Character in the map as size reference. The Character will be removed once I have my room complete. Do this by right clicking in the 2D view, selecting actor > ally > marine > AT_AT4combo Any model will do, this is just an example.
Ctrl + Tab to the XY Top view I am going to start with the floor.
Switching to Grid 8 by pressing the 4 Key.
Creating a brush 512 x 320
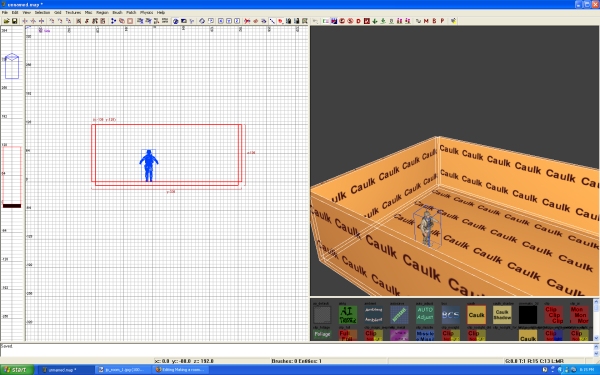
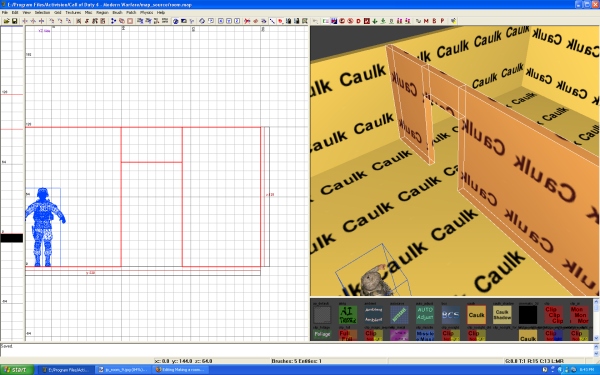
Next I will make walls surrounding the floor. The brushes will be 8 units thick and 128 units in height. Basing off Gameplay standards.
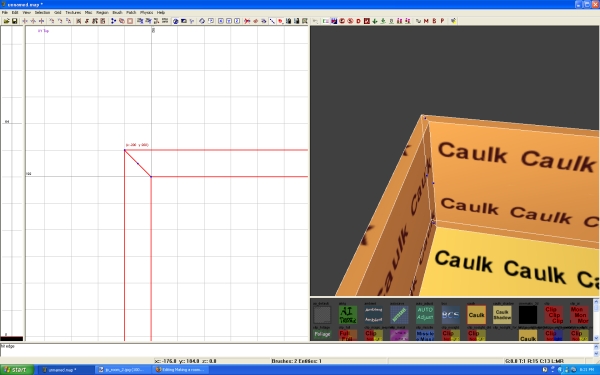
I want to have the edges of the walls to join in 45 degree angels to reduce surfaces.
![]() Hint: when creating brushes that will connect at right-angles - as with adjoining walls, walls and floors/ceilings, map boundary walls, skybox enclosures, etc. - it's quickest to create one brush 8 units deep, bevel the edges (see below) and then use Space to duplicate and Shift-D to rotate. Reposition the brushes and scale as needed to get the bevels to align. This saves a LOT of vertex editing.
Hint: when creating brushes that will connect at right-angles - as with adjoining walls, walls and floors/ceilings, map boundary walls, skybox enclosures, etc. - it's quickest to create one brush 8 units deep, bevel the edges (see below) and then use Space to duplicate and Shift-D to rotate. Reposition the brushes and scale as needed to get the bevels to align. This saves a LOT of vertex editing.
Select 1 wall and I am going to hit E to go into edge mode. I will then grab one of the blue dots from XY Top view and drag it to make my angle. I will do the same to each wall till I get my ends to match like in the next picture.
Making a doorway
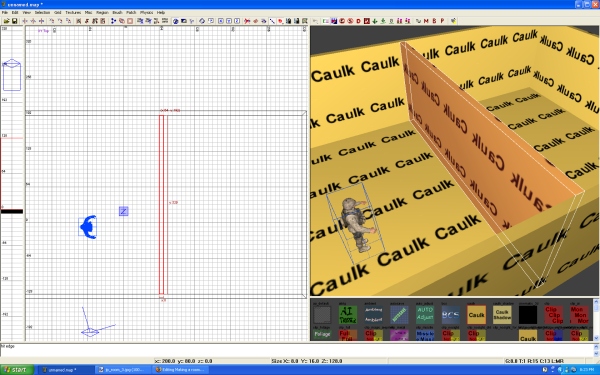
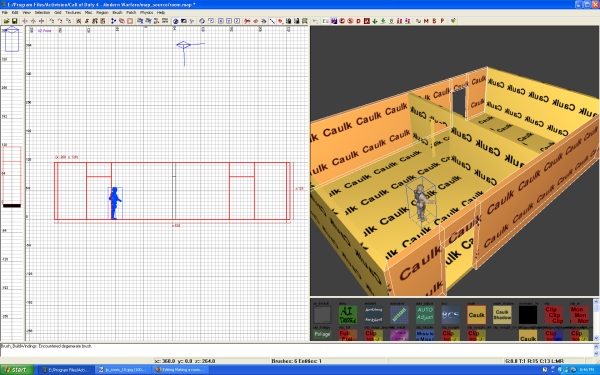
I will make a wall with a doorway to create 2 rooms inside.
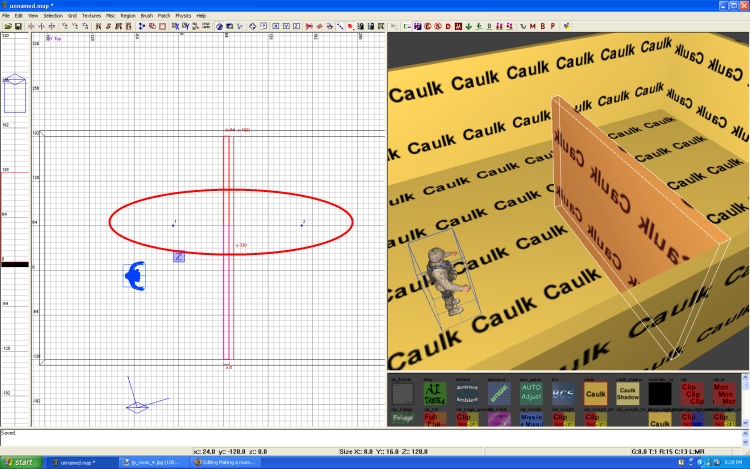
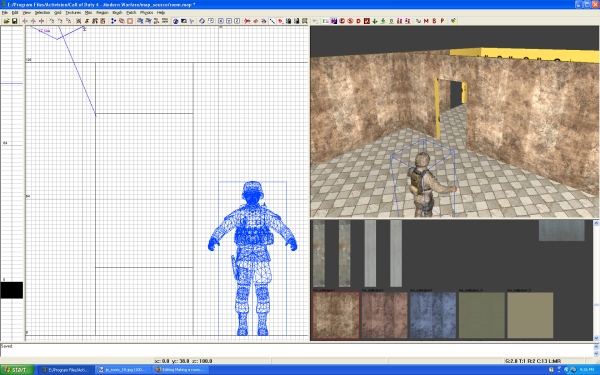
I make a brush across the center making the 2 rooms.
Next is to make my doorway. Using the wall I am going to make a cut.
Holding Ctrl I am going to RMB click to make a point. A blue dot will appear where you clicked in the 2D Grid. I am then going to make a second for my second cut line.
When you make the second point you will see one side disappear. This is showing you which side will stay and which will be deleted. However in this case I want to keep both half's.
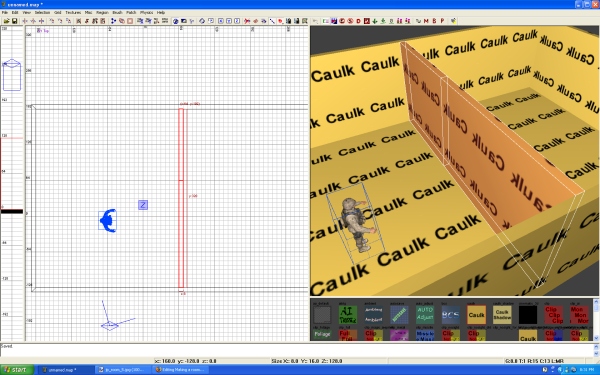
Holding shift, I press enter and the cut will be made keeping both half's.
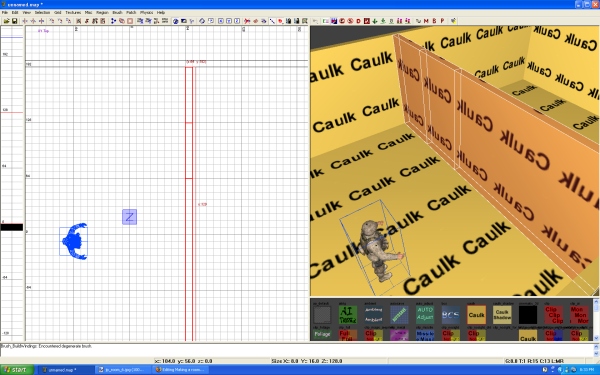
I am going to make a second cut for the other side of the doorway. Same process, keeping both half's.
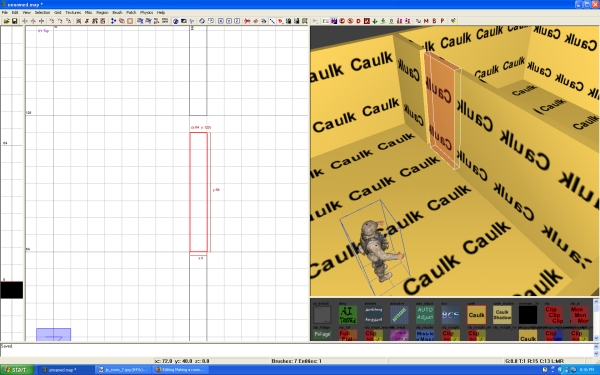
I am going to select the center brush that would be above the doorway and size it to 56 units. Doors with frames will need to be wider to fir the frame. The frame used later in this lesson requires the door space to be 60 units wide because the door frame will add 4 units, but let's leave it at 56 for now.
Then I am going to drag the brush from the bottom upward so I have 96 units from the floor to the top of the door header. The brush size will now be 32 x 54 x 8. Remember again that with the frame we use later in the lesson this brush would be 30 x 60 x 8, but again we are assuming no frame.
Closing in the other side I now have a doorway connecting the 2 rooms.
I am going to go through the same process and make 2 more doorways on each side exiting the rooms to the outside.
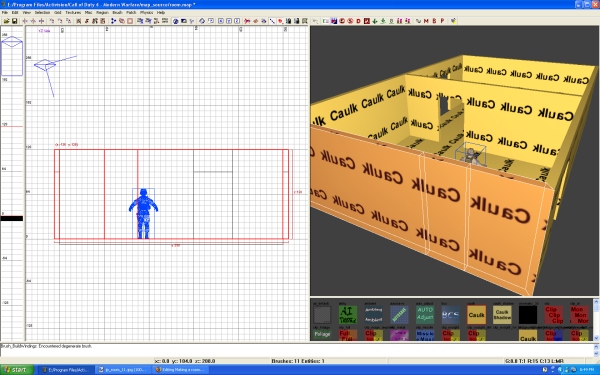
Making a window
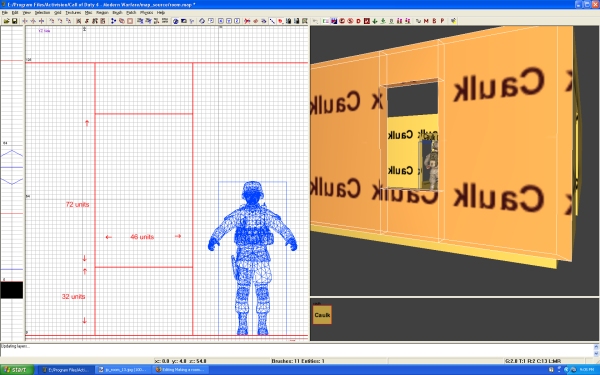
Going through the same steps I am going to make a 2 cuts for both sides of my window.
Next I am going to make a horizontal cut across the brush in the center. Again keeping both half's.
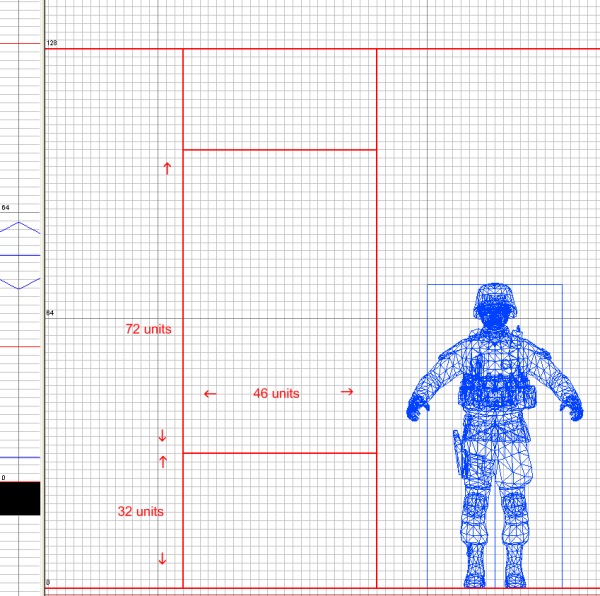
Using the Gameplay standards I will size the bottom brush to be 32 units from the floor. Inside diameter of the window will be 46 units wide 72 units high.
So now that we have 2 rooms, couple doorways and some windows lets add some textures.
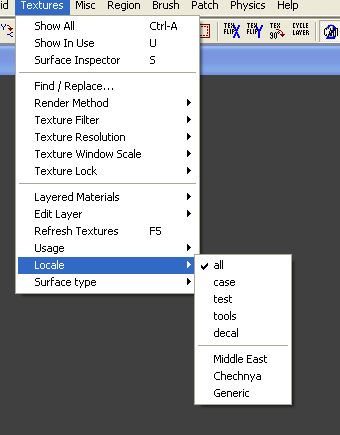
I am going to load up textures/local/Middle East
Selecting the single face of the floor (Ctrl + Shift + LMB)
For the walls I applied me_wallpaper1 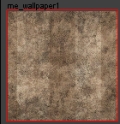
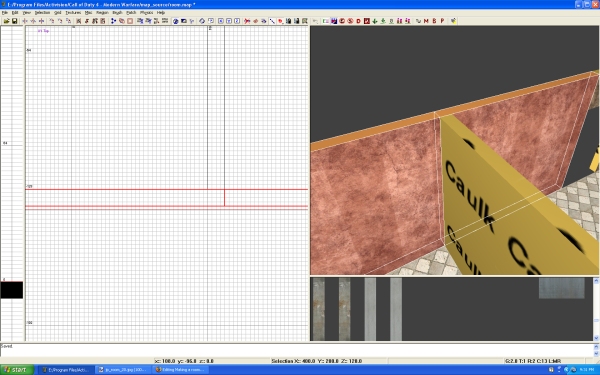
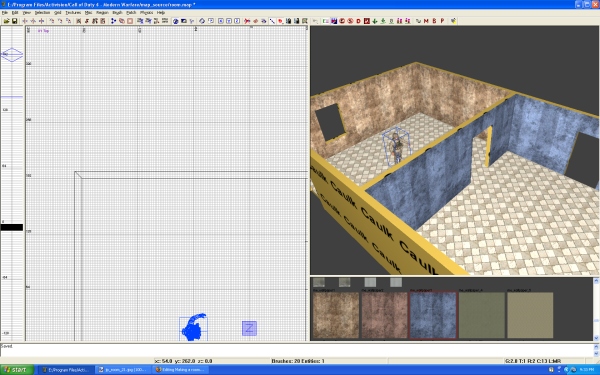
I want my walls to be a different texture and right now the 2 rooms share the side walls, causing the texture to go in to the next room. So what I need to do is make a cut on the edge of the interior wall.
Do the same for the other side as well.
Now I am going to add the me_wallpaper3 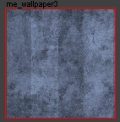
Adding prefab doors and windows
The rooms need door frames and windows. Lets use Prefabs.
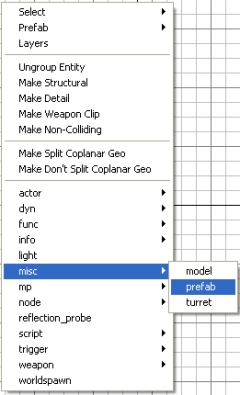
Right clicking in the 2D grid I am going to select misc/prefab/
I am going to select one that is included in the tools.
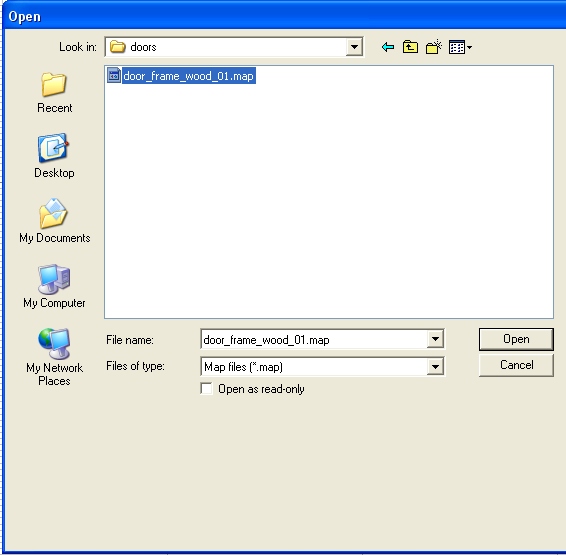
The directory windows pops up I am going to go to bog/doors/door_frame_wood_01.map
The prefab will be facing the wrong direction so we will rotate it by Shift + D. Each time you use the hot keys it will rotate it 90 degrees.
You can use the rotate tool (R) but its faster to use the hot keys.
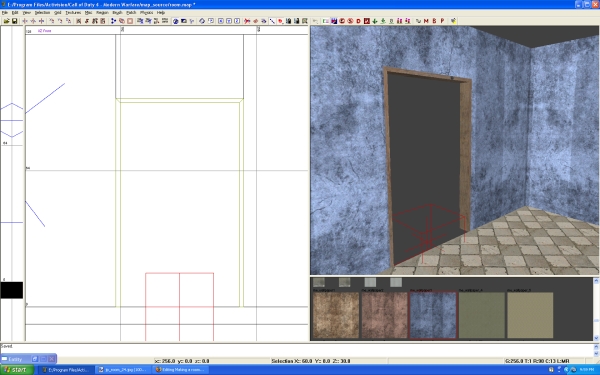
Placing the prefab in the area I cut out for the door, you will notice that the brushes need to be wider.
This is because the prefab is made to the correct sizing to standards.
I had you make the doorways to standards and not the sizing of the prefab for the reason that in some cases you might not want to use a prefab for a doorway.
Its always important that you keep consistency.
Go ahead and place the door prefab and make the adjustments to the surrounding brushes.
You will need to reduce the grid size so press the 2 key to set the correct grid.
If at anytime your prefab is not matching with your grid, snap it too the grid by Shift + G.
Make a duplicate of the door prefab by selecting the prefab and hitting Spacebar.
Place the door frames in the rest of the doorways and make the brush adjustments.
You might be asking, why is the door frame prefab yellow in color in the 2D grid window?
Well thats because the brushes that are making the door frame are set to weaponclip.
Weapon clip means that it will have collision to weapons, but not the player.
We generally do this on trim to reduce the chance of the player getting caught when traveling through the opening. The frame selected is 8 units wide so generally it won't cause a player to get caught up, but a frame wider than 8 units could create a frustrating situation for players who want to hug the wall of your room.
Window prefabs
We will do the same process for the windows.
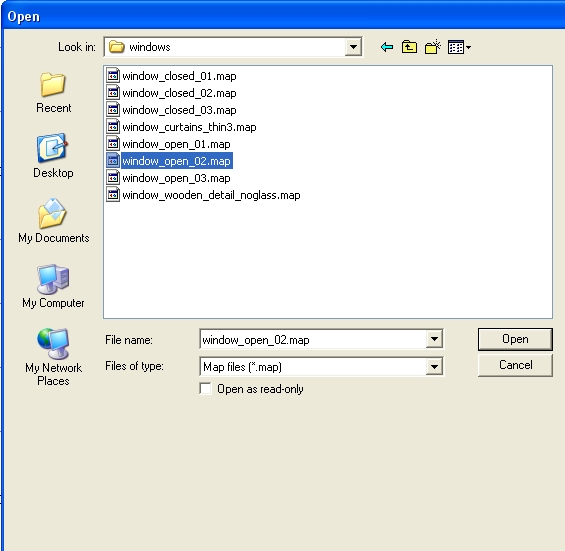
misc/prefab. Then select bog/windows/window_open_02.map.
You will need to trim up the surrounding window brushes so they match with the window prefab.
